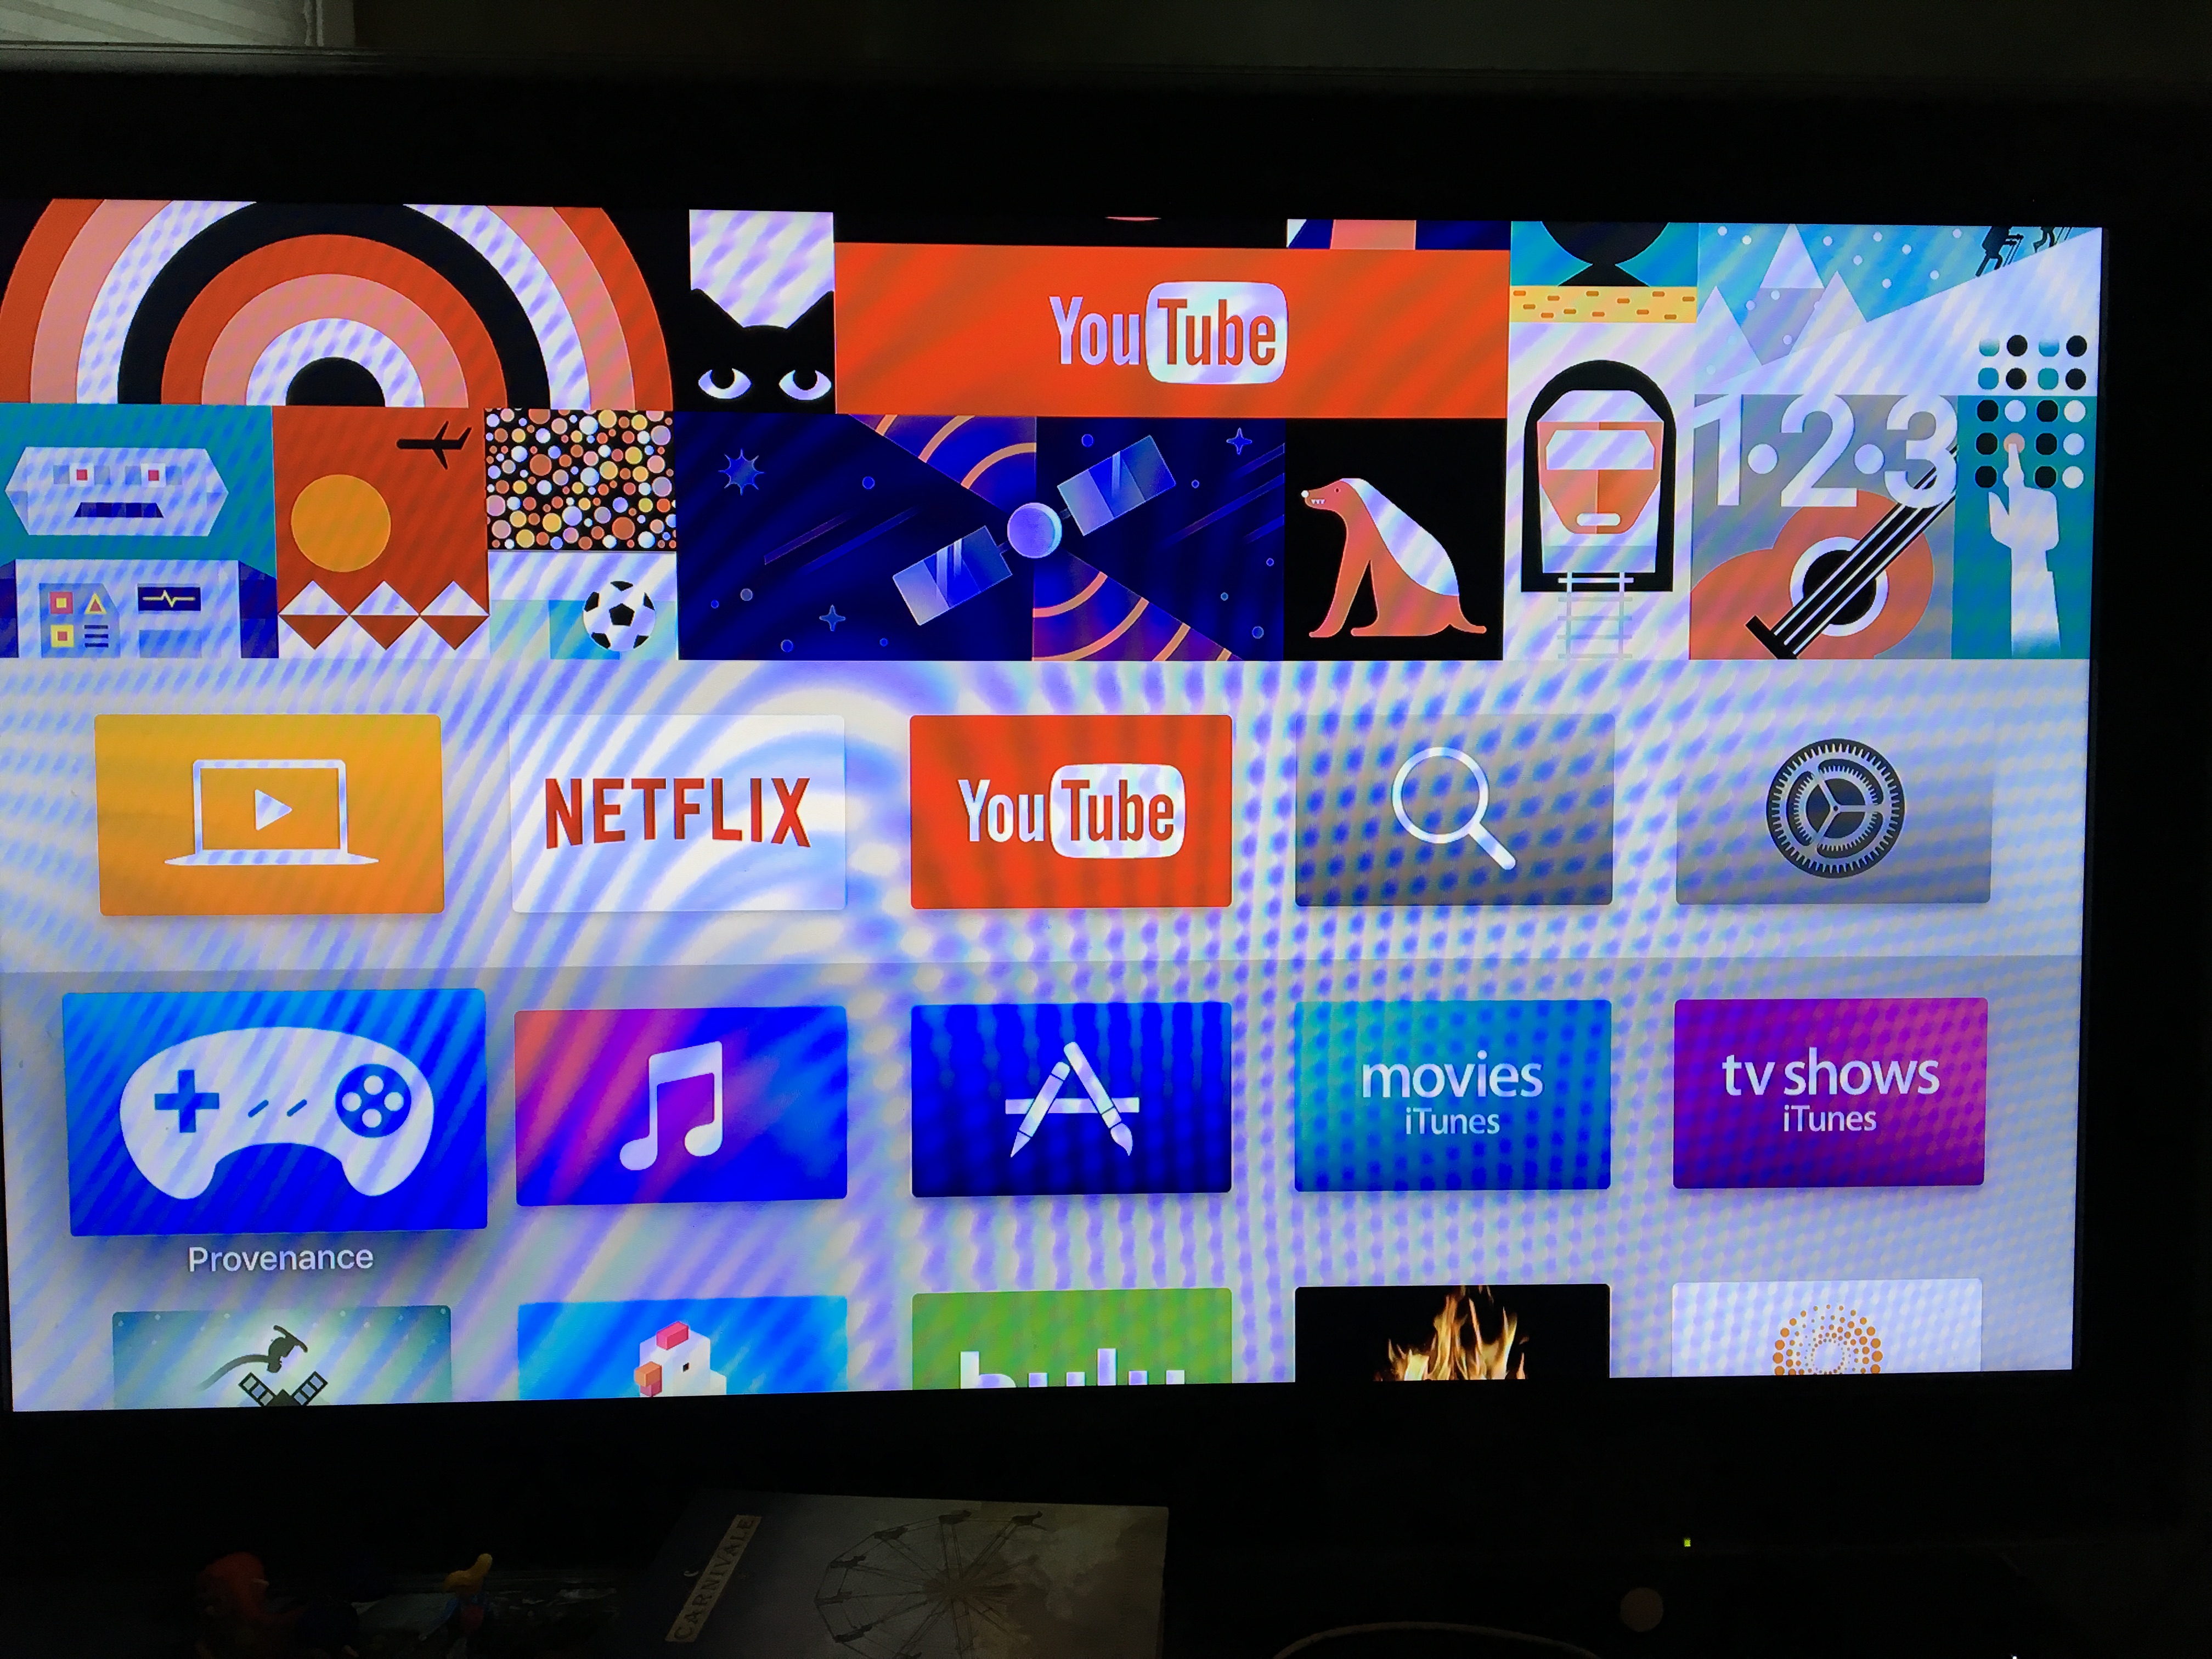
I recently learned about a classic game emulator for the Apple TV called Provenance. I’ve toyed around with emulators attached to the TV before, for instance see my post on the RetroPie. One thing that particularly interested me about Provenance was its ease-of-access. Instead of hooking up the RetroPie, flipping the TV over to its input, waiting for it to boot, then stringing the controllers across the room — the Provenance icon is right there on my TV’s home screen. (Did I mention that the only thing I use the TV for is as a monitor for the Apple TV?) The emulator sits there among Netflix, YouTube, and Hulu.
Installing
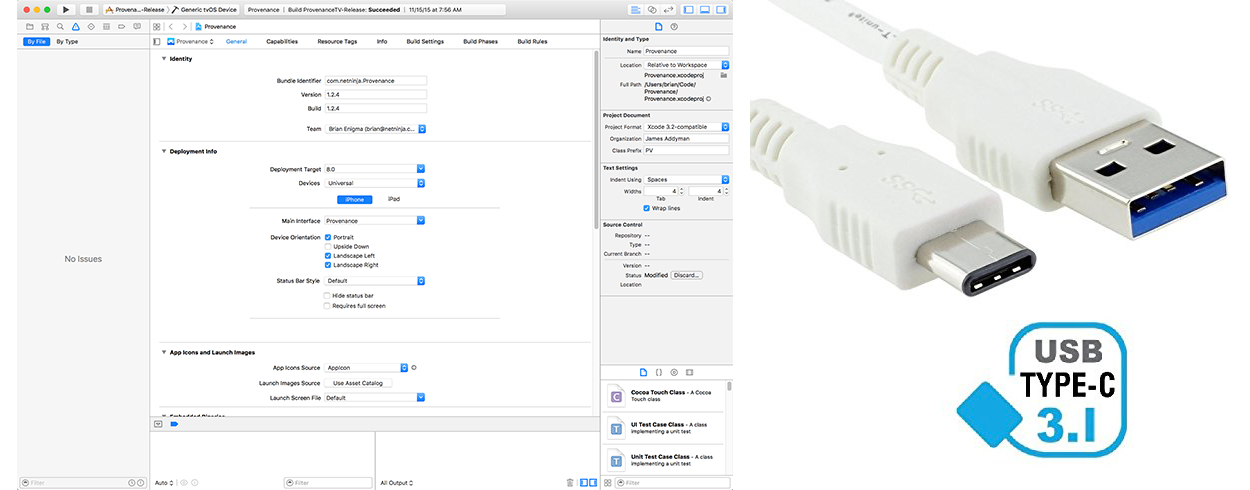
Once installed, it’s a breeze to use. But “once installed” is the 30-foot-tall-fine-print. It was actually easy for me to install, but I’m a registered Apple developer with my code-signing profiles already set up and my devices already tied to my developer account. You see, Provenance isn’t something you’ll find in the App Store. Apple despises open-ended supply-your-own-ROM emulators. They’re happy if game ROMs that the developer has properly licenses are pre-installed or available through in-app purchase, but they ban apps that have any sort of back-door for you to supply your own ROMS. So Provenance is distributed as source code. You need the Apple dev tools. You need a developer account. (Apparently there is now a free tier that gives you enough privilege to install on your own devices?) You need to download and compile the code. And you need an uncommon USB-C cable to side-load it onto the Apple TV. The build and install instructions for Provenance are actually well written, with useful screenshots. Someone who is tech-minded without being a formal developer shouldn’t have a problem. It’s just not as easy as clicking on the “Get” button in the App Store.
So, as I said — once installed, it’s a breeze to use. First you have to give it ROMs. It supports Nintendo (NES, Famicon Disk System, SNES, Gameboy, Gameboy color, and Gameboy Advance) and Sega (SG-1000, Master System, Genesis, MegaCD, and Game Gear) at the moment. There is a button up top for “Import ROMs.” Clicking it will kick off a mini web server.


You can then go to your desktop or laptop’s browser and use a web interface to upload all your ROMs. It takes a little while. You select and upload them in batch, but they’re slowly processed — the system must look up the ROM size and checksum in an online database to get the name and cover art.
Playing
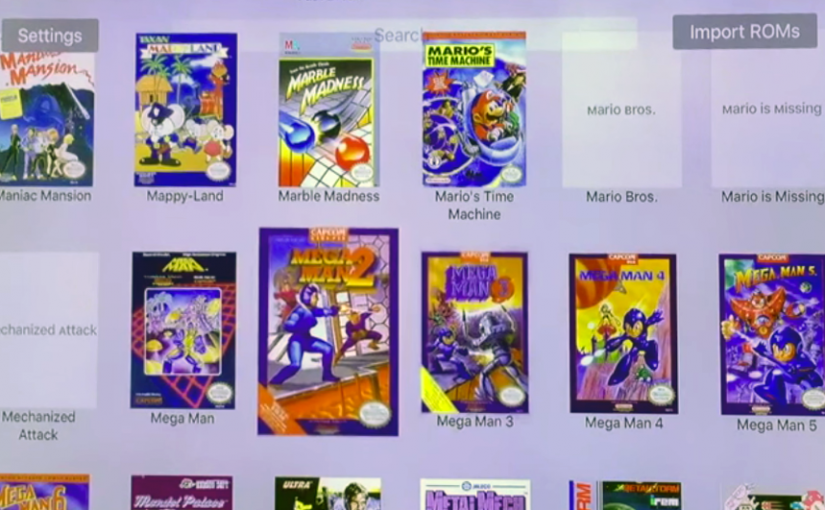
When you launch Provenance, you’re presented with a list of games. Select one and you’re ready to play — launched directly into the game.


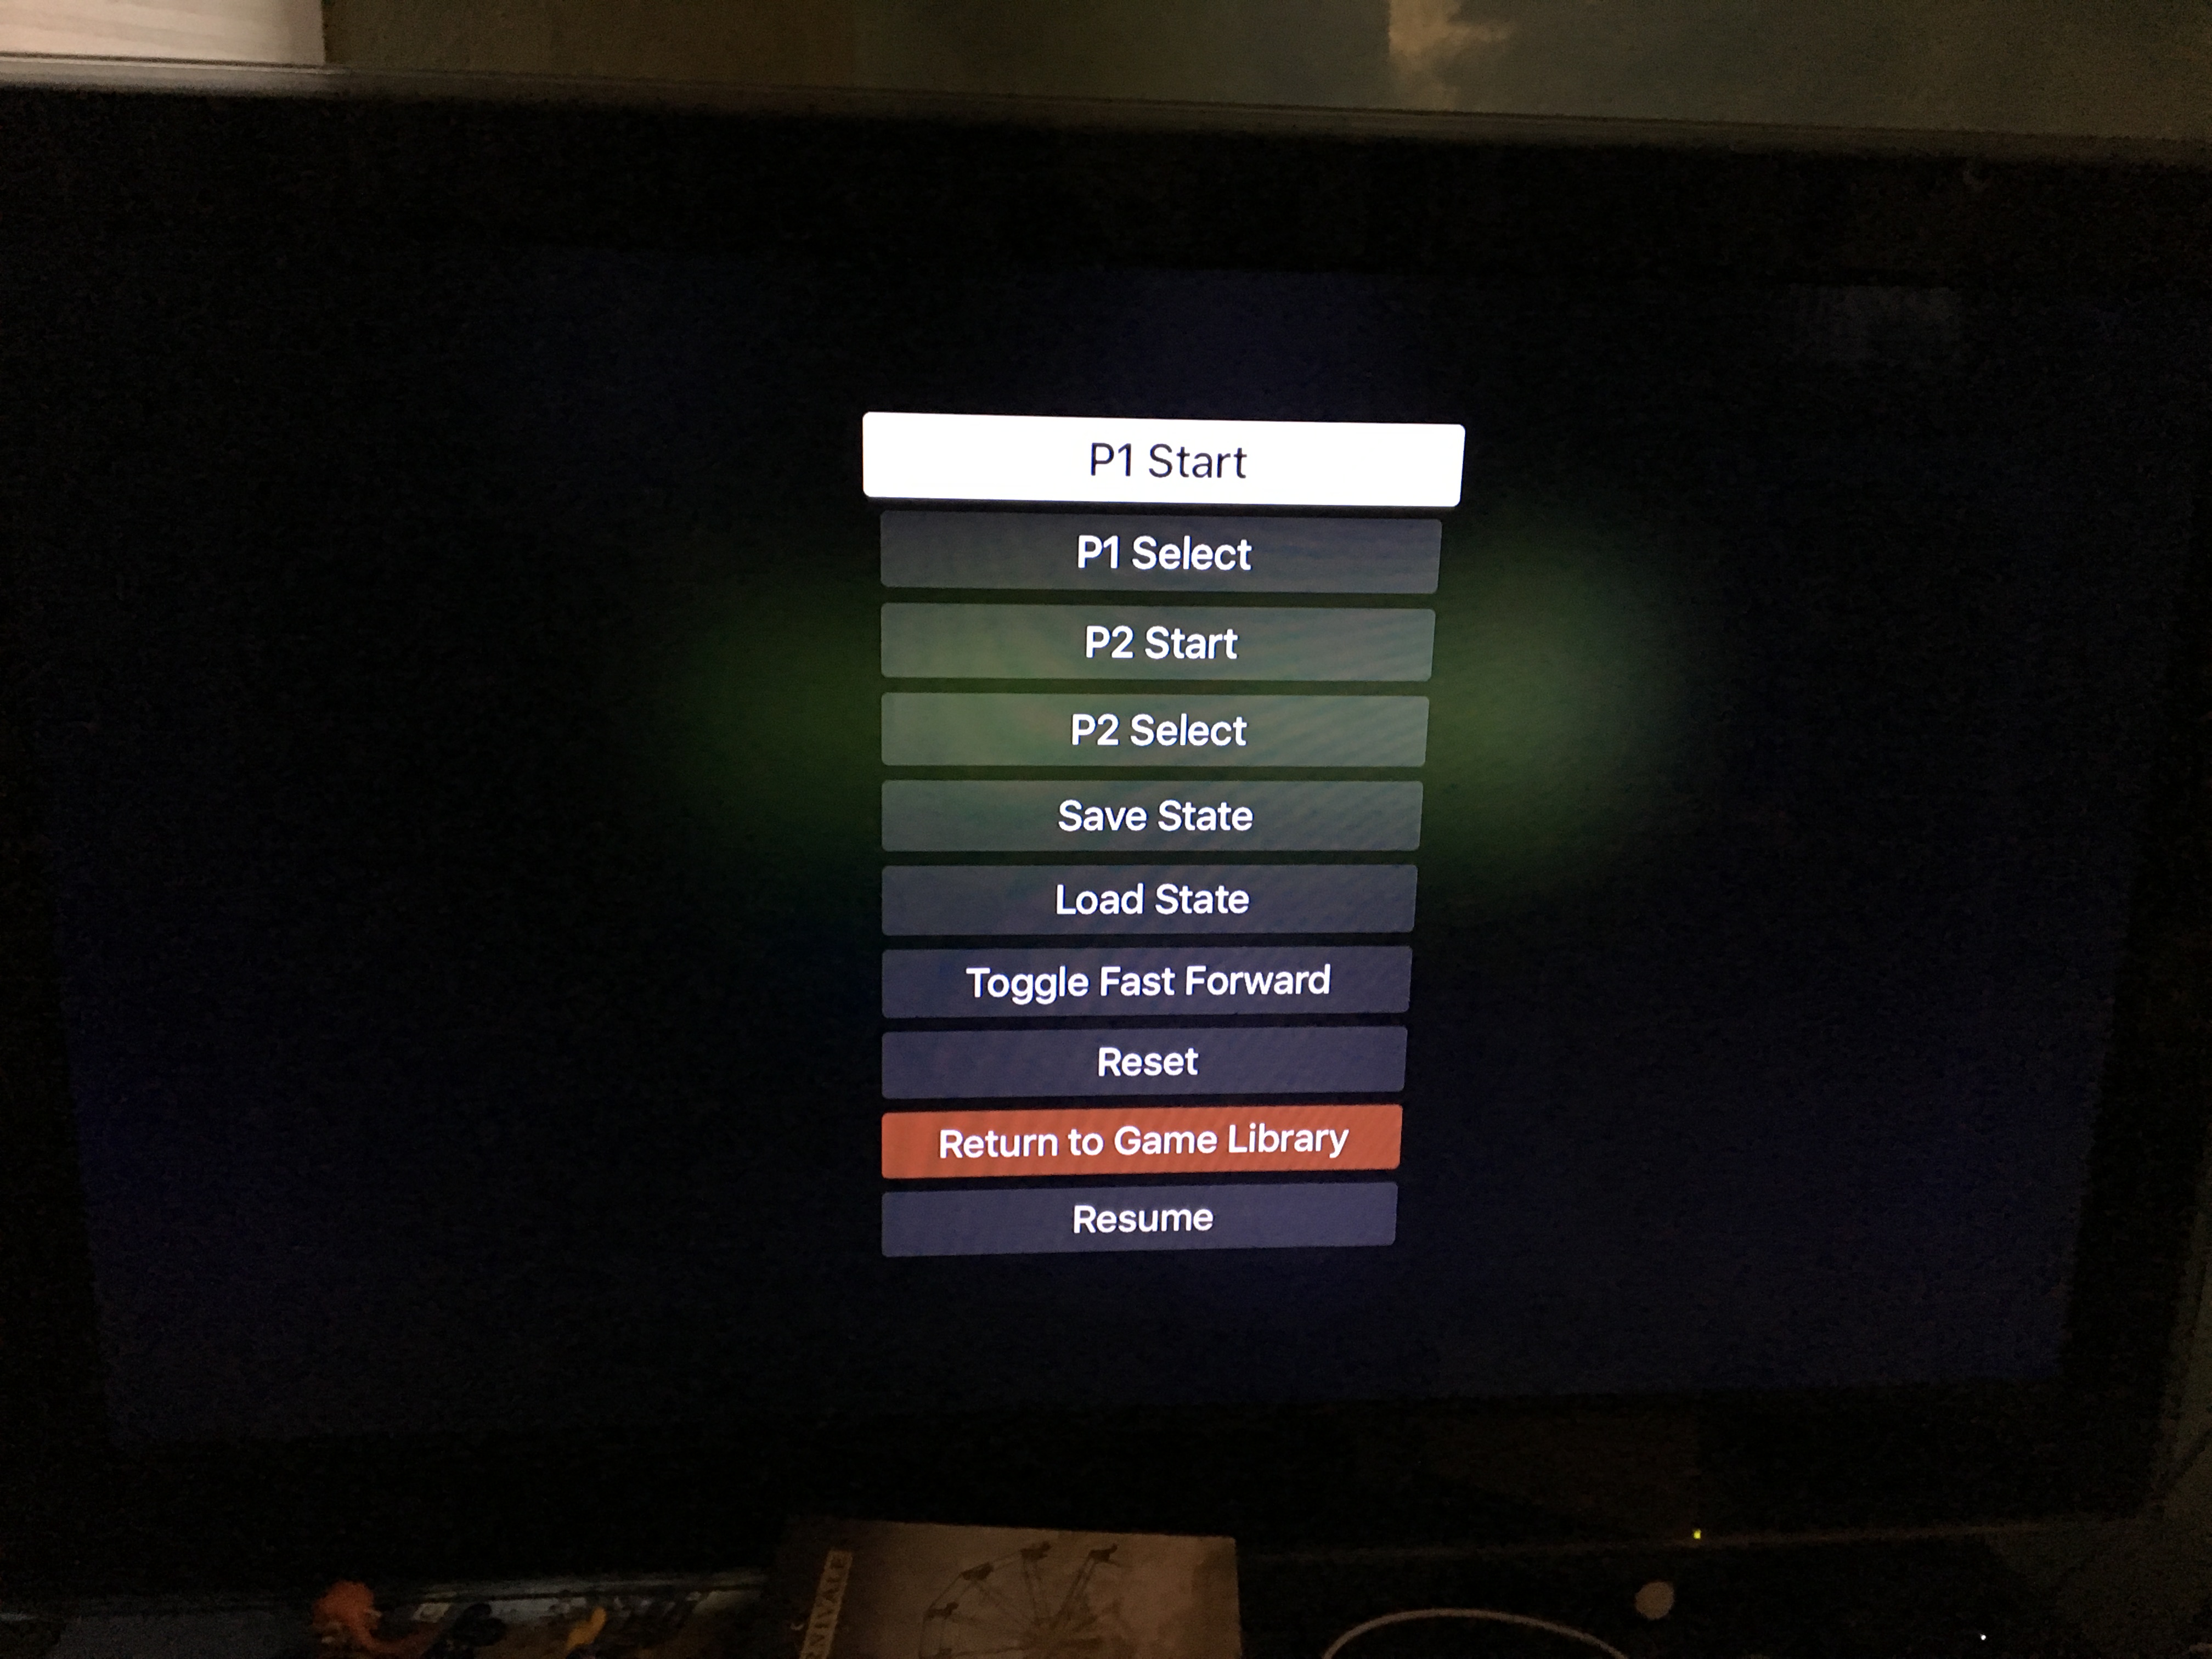
The games are proof-of-concept playable with the bundled touch remote, turned sideways like you’d do with an original Wii Remote. Touch the touchpad for d-pad directions. Click the touchpad for shooting. Use the play/pause button for jumping. The menu button brings up a menu of other buttons and options.

It’s functional, but awkward and not at all intuitive. You really want a Bluetooth controller. I bought a cheap little one so that I could try playing Geometry Wars the right way (versus on the touchpad with auto-fire). Once you’ve told Provenance to use Bluetooth, from the settings menu, the controller works surprisingly well. The d-pad and A/B work as expected. Select and Start are the shoulder buttons, which I guess is as good a place as any given that the “made for iOS” controllers lack those dedicated buttons. My ONE problem, which I didn’t figure out for hours, is the button mapping:

I ran into a dyslexia problem without realizing it. The A and B buttons are swapped! My muscle-memory kept kicking in and doing the wrong thing! I don’t see an obvious way of swapping the buttons through the UI, but I can only assume there’s a constant I can tweak in the code to do so. Fortunately, I have the full source code and am an (at least part-time) iOS developer.
Summary
Overall, I really like having an NES emulator available on the Apple TV. If you feel confident enough to jump through the Apple developer hoops and invest in a USB cable and controller, I’d recommend trying it out. Even if it doesn’t ultimately work out for you, you can still use the controller for other games. Honestly, any game aside from the one-button variety (Crossy Road, Alto’s Adventure) pretty much requires a controller.