In my last post, I talked about designing a botanical plaque to label trees in the yard. The design had some flaws. It was two pieces epoxied together and most of them broke apart after 6–12 months. I suspect water got in the gap, froze, and helped separate the pieces from the dried epoxy.
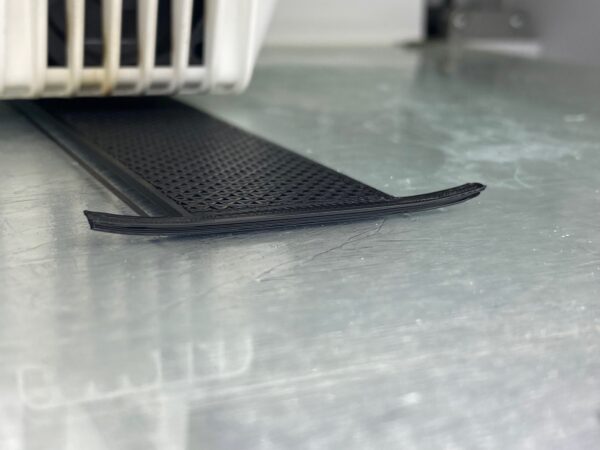
This weekend, I had a go at two updates to the design. The first design simply merged the two pieces into one. To help reduce any drooling plastic — due to sharp overhangs and gravity during printing — I modified the plaque’s angle from 45º to 30º. Structurally, this resulted in a good design, but one with a cosmetic defect baked in.
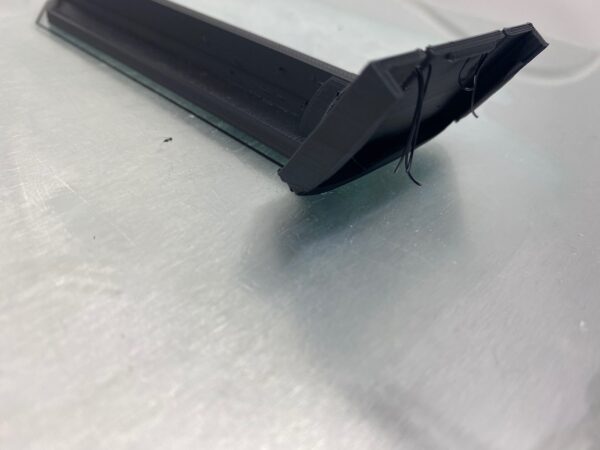
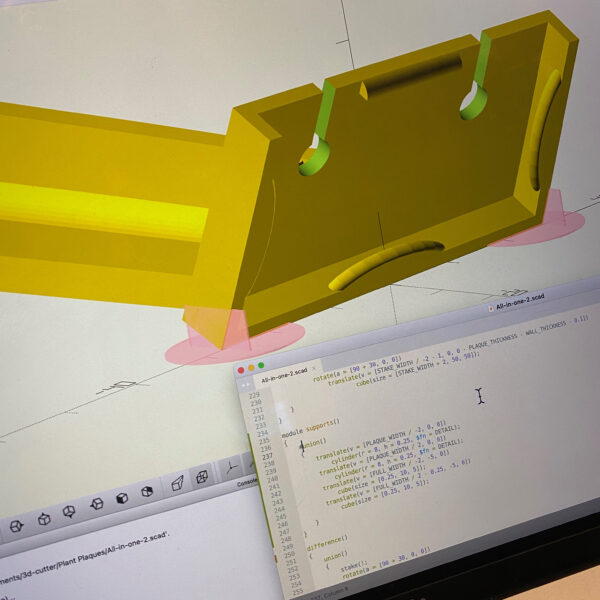
On the print bed. 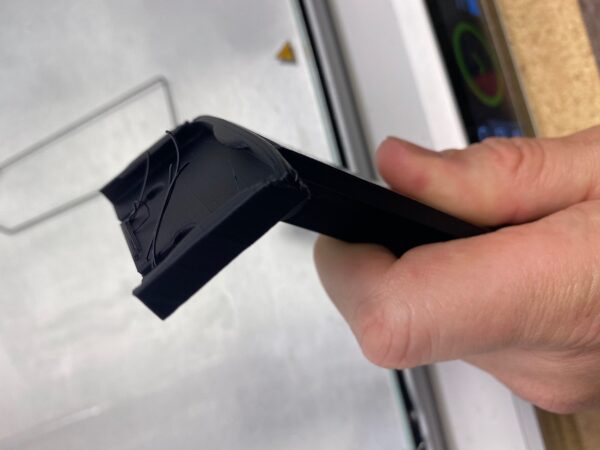
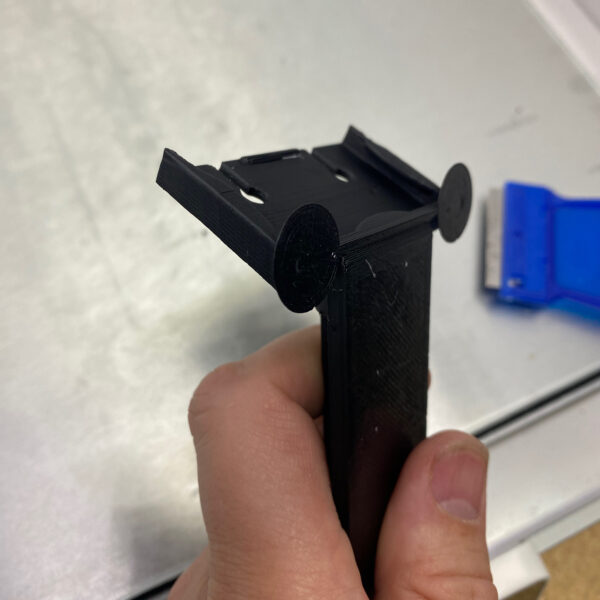
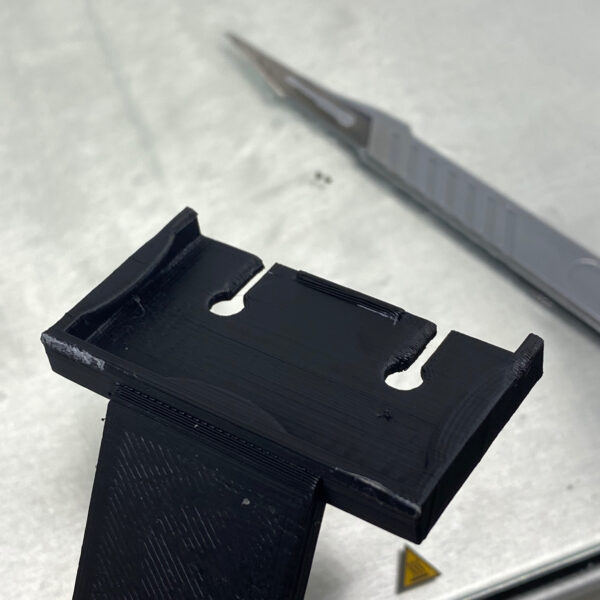
In hand. 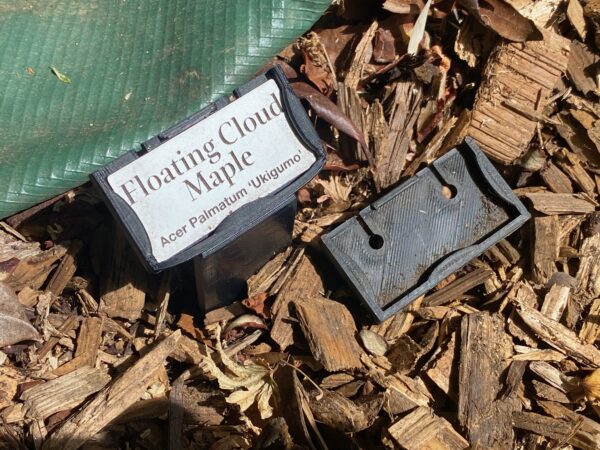
Weak lower corners, compared to the sharp corners on the broken holder.
Because I want this to be an object that lasts a long time out in the weather, I picked ABS plastic for printing. That’s the same plastic they use to make LEGO. ABS has a particular property when printing. When printing a nice large solid block, everything is fine. But as soon as your design has fingers, peninsulas, or similar fiddly bits in the first few layers, those parts of the layer will start to peel up. You can see that here, in the first few layers of the stake (the same one as seen completed, above):
You can improve the situation with a heated bed, which I do have, but those peeling-up fingers are the edge where two cube faces come together. It’s really difficult to get right with this material.
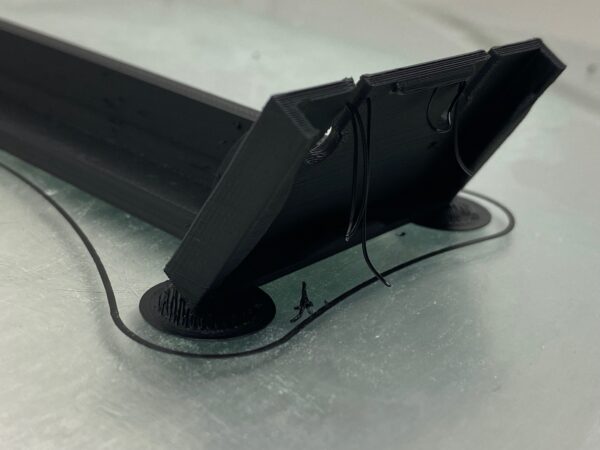
Onward to the Mark 3. I altered the design to better compensate for the properties of the materials I’m using. Normally, sprue is an unwanted effect of injection molding. You might not know the name, but if you’ve put together plastic models, you have an understanding. Sprue is the “tube” of plastic that you snap the model’s pieces from. Often you’ll do some cutting or sanding to clean up where you snapped the model from the sprue. You don’t typically have that in 3D printing, only injection molding, but here I used it as some extra adhesive and support.
This helps tack down the corners. If anything is going to bend and peel, it’ll be the sprue itself doing that first, before the actual model starts to peel. I used a scalpel to cut away the supports, which left a little bit of an unfinished edge of raw plastic. I’m not too concerned with that, given that the whole thing will weather over time.
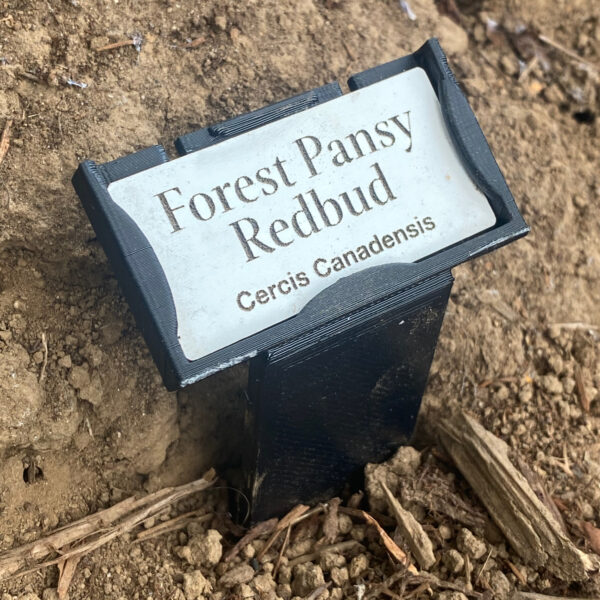
After inserting the laser-cut plaque and putting the stake in the ground, the final result looks great to me!