At my workplace, we have all-company Friday lunches. Often we will have a speaker giving a presentation — either someone from within the company or someone from the local community. Once, we had a silly game show. It was successful enough that we brought it back a second time, but this time with a little more planning and polish. The first incarnation of the gameshow used a game board made of pieces of paper taped to the wall, with people raising their hands to answer and the host often unable to determine who “buzzed in” first. The fellow running the gameshow project asked me if I might be able to build some gameshow-style lockout buzzers on the cheap. Aside from an extra spool of telephone cord, I had all the electronics parts and scrap wood from previous projects to create an effective buzz-in system.
I always keep a spare Arduino or two for prototyping projects just like this one. Specifically, I had a really old Diecimila (it doesn’t have as great a processor, as much memory, or a hardware board as fancy as the current Arduino Uno) that I was happy to get rid of. A project like this doesn’t need a ton of power.
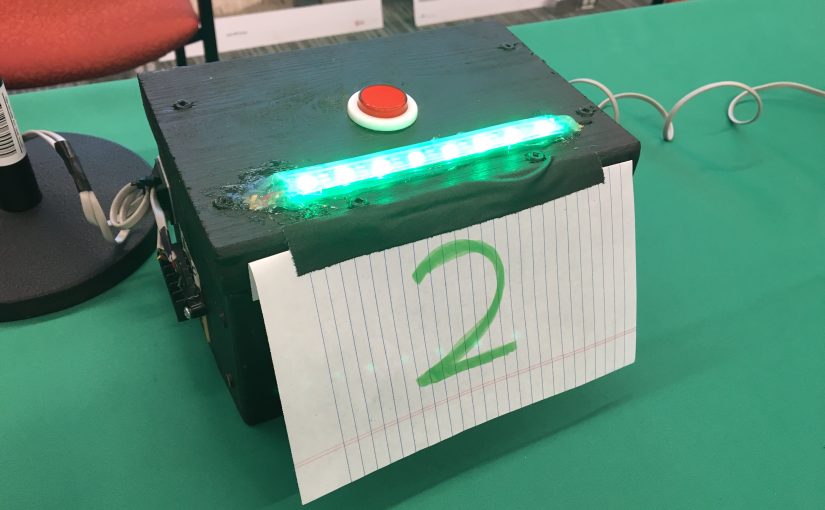
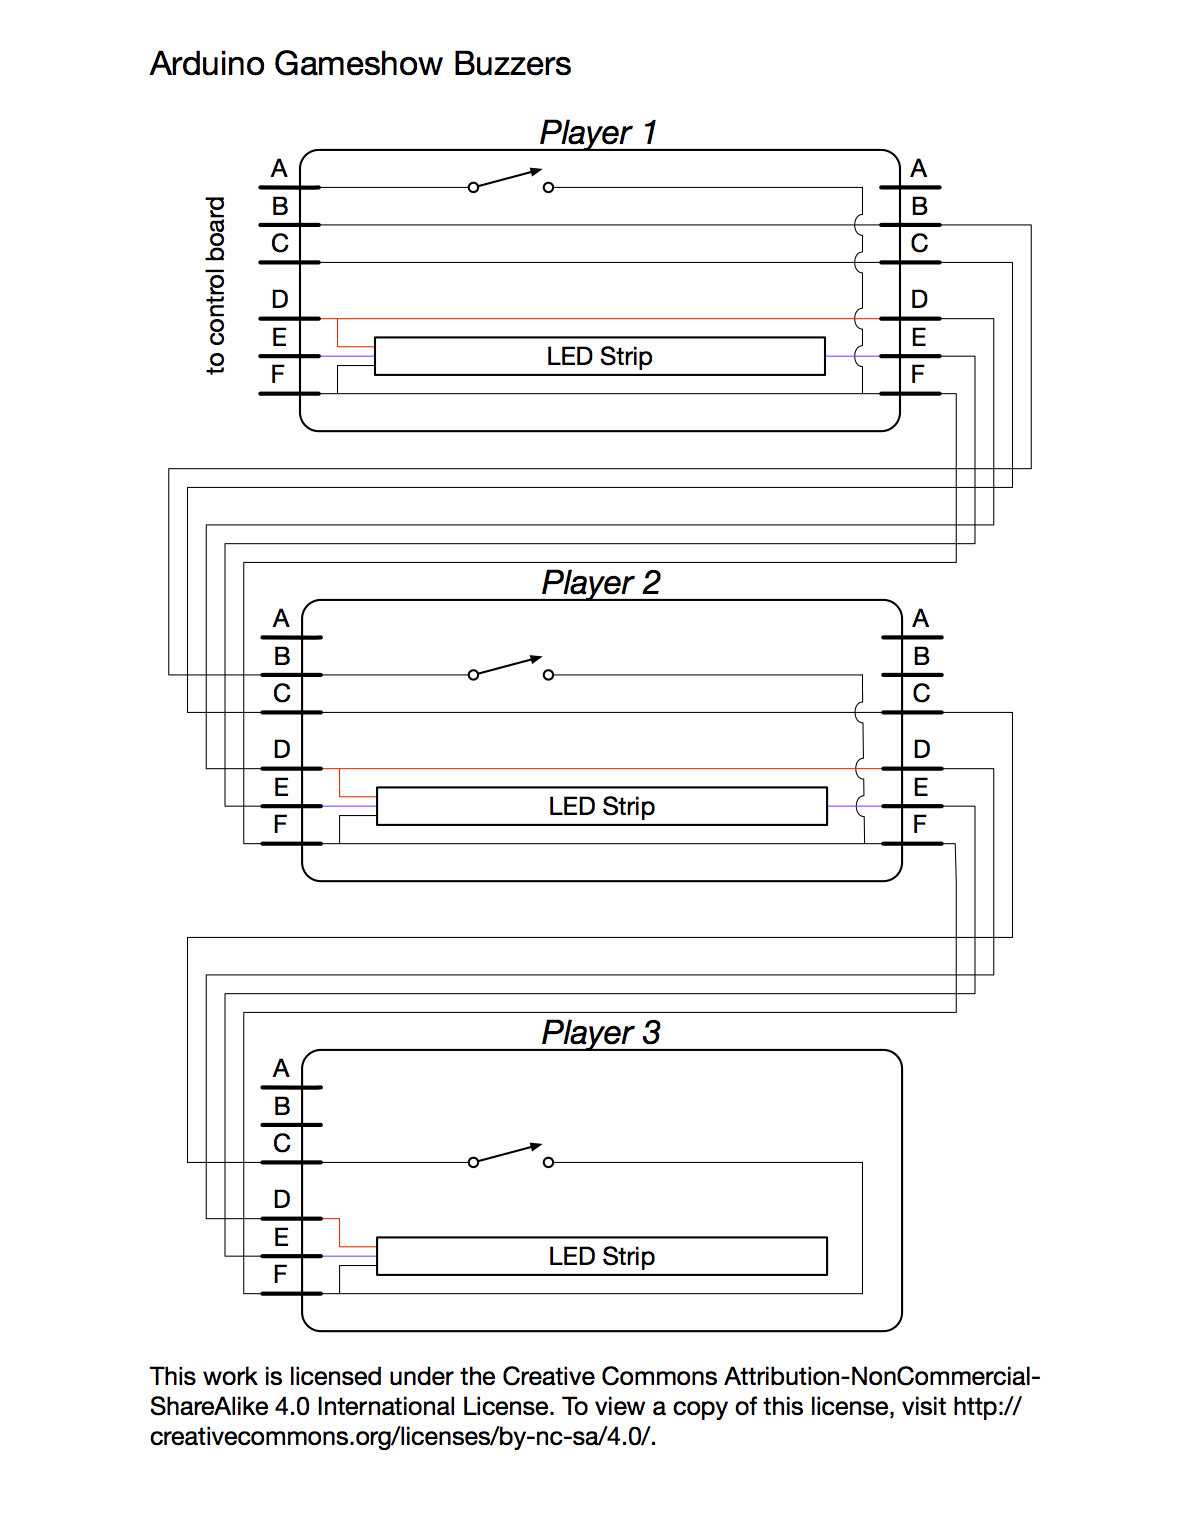
I crafted up a simple design for the buzzers, all chained together. To the Arduino, they look like three separate buttons and one strip of addressable LED lights. In reality, the LED strip is split into three pieces of 8 LEDs, but electrically it’s a single strip.
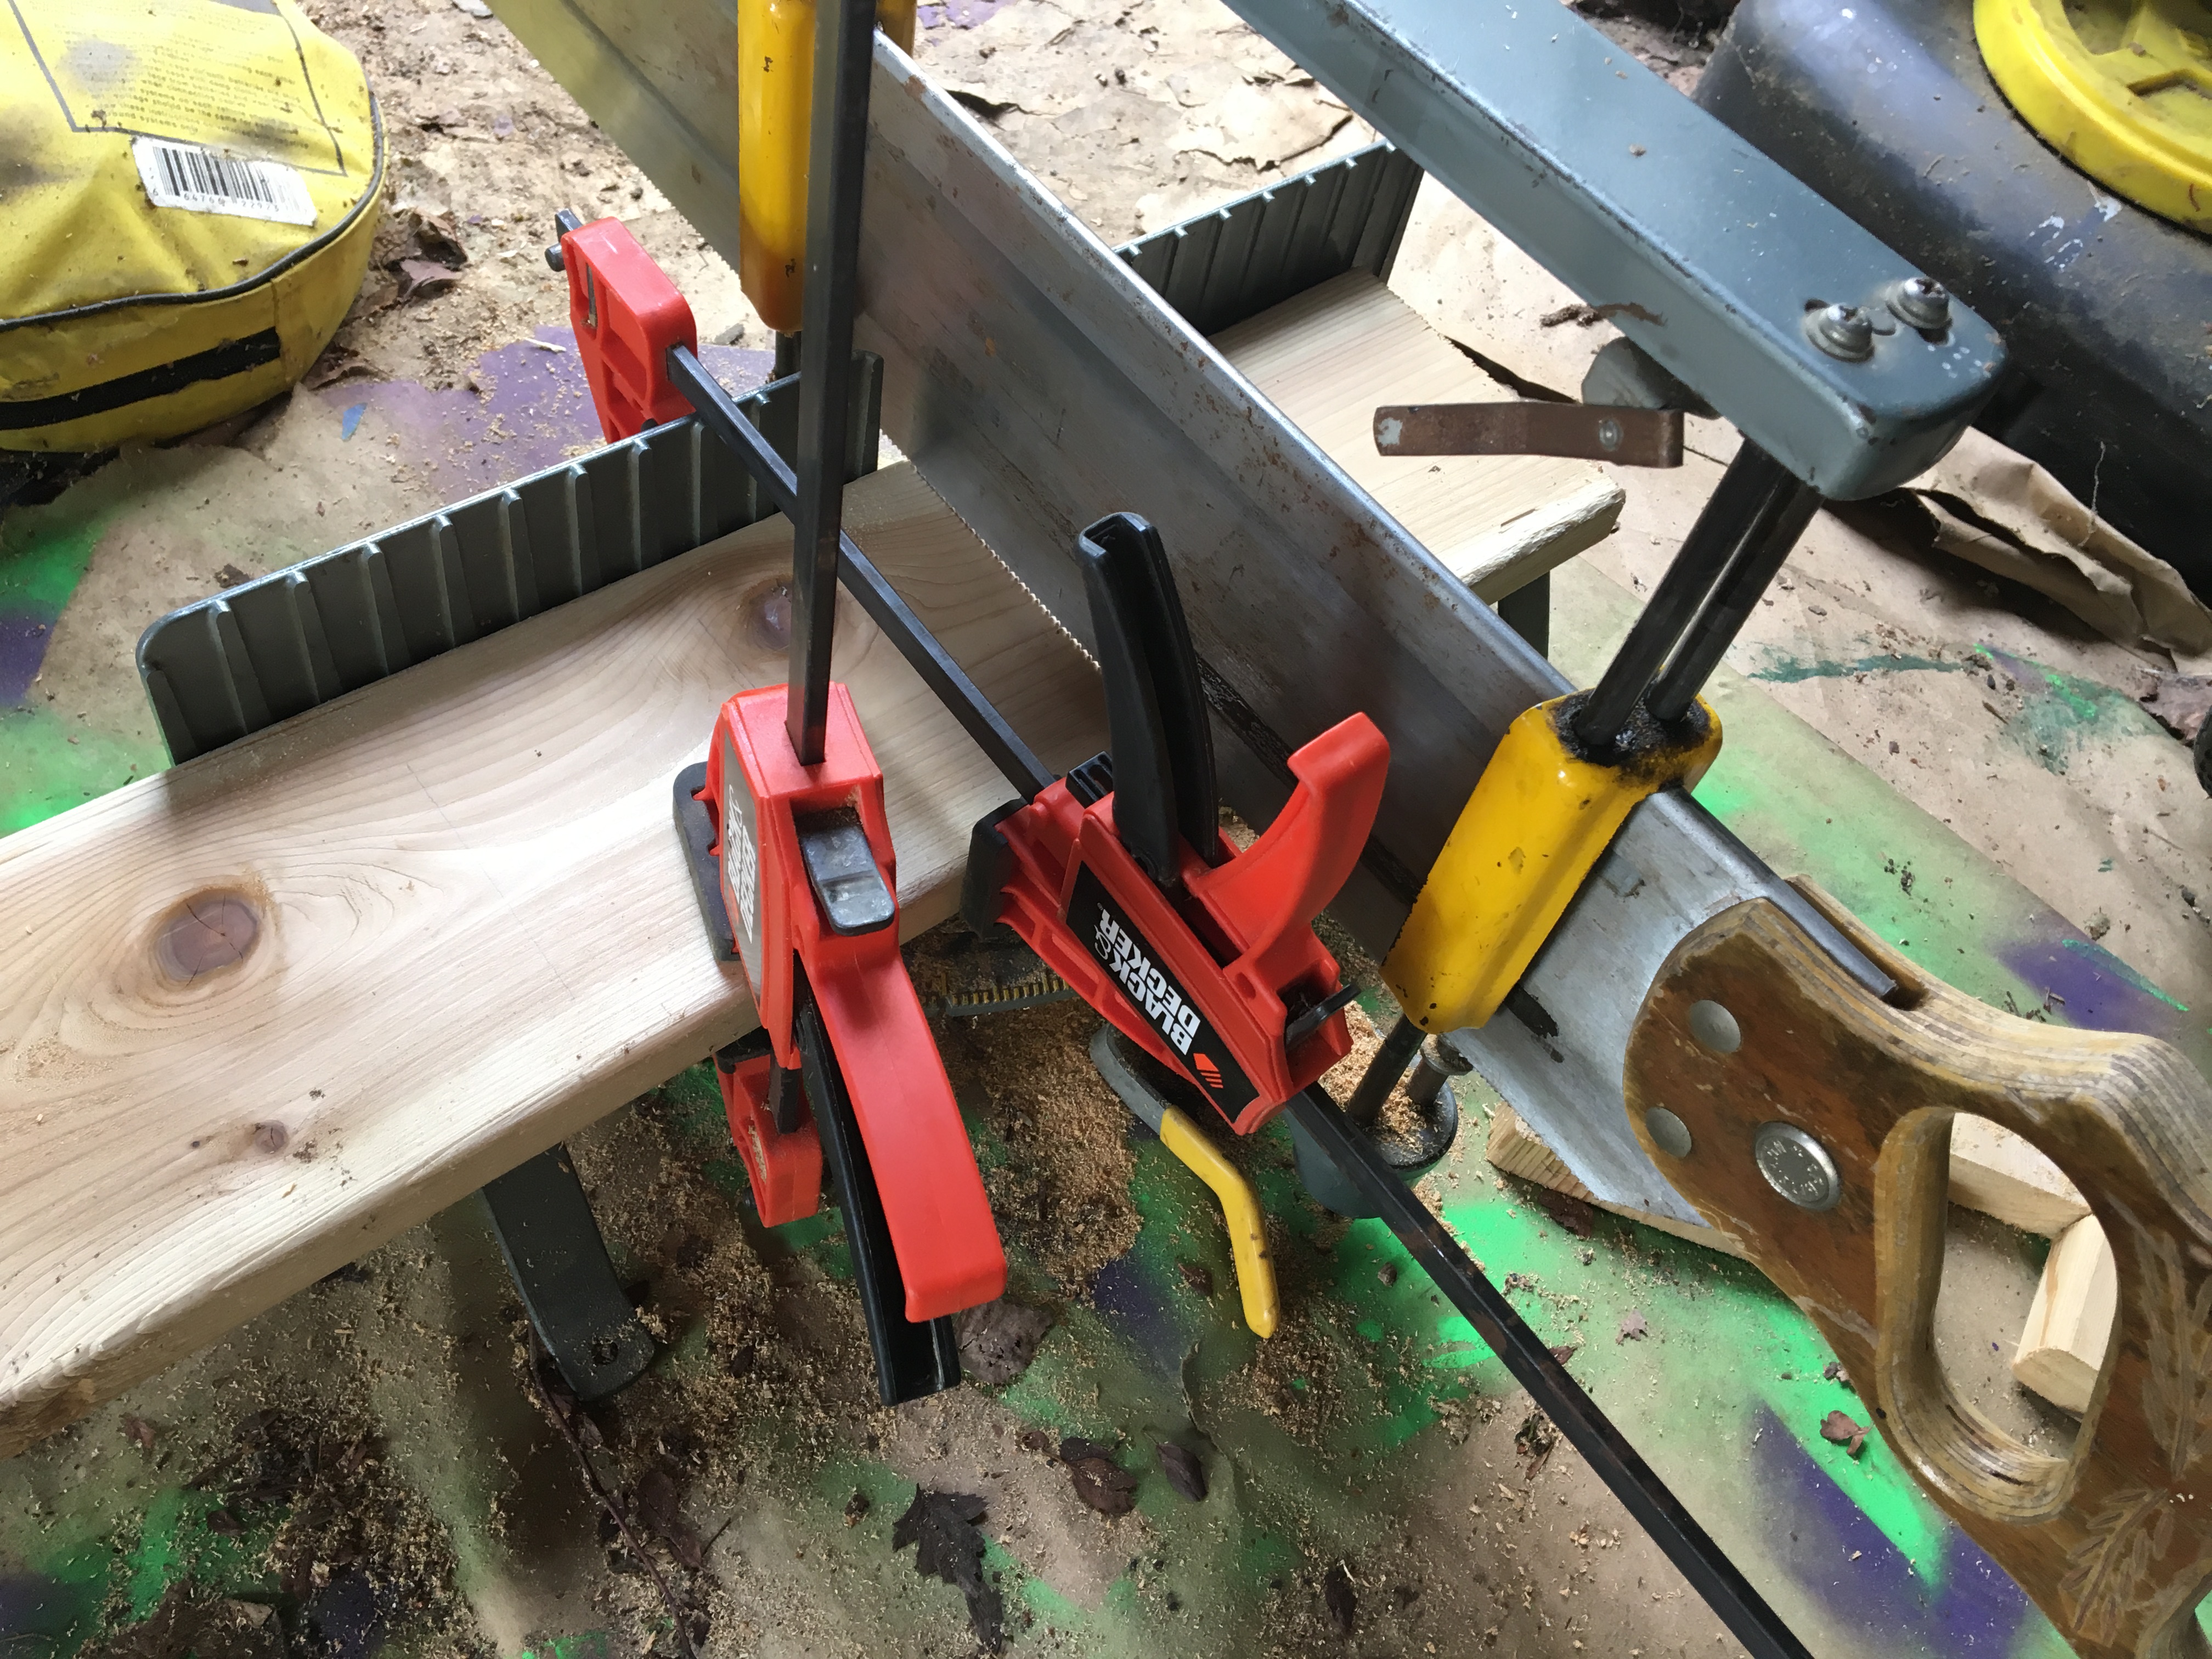
I started by creating a single button, temporarily wired to an Arduino. My carpentry skills are terrible, so a boatload of black paint covers up the imperfections.

When this looked good, I set about to complete the other two buzzers. I also needed a way for the host to reset the “lockout.” When first plugged in, each of the buzzers goes through a red/green/blue/white “light chaser” animation as part of a power-on self test. When he saw that during a prototype session, the host loved it so much he wanted a special button to activate this “party mode,” such as when a contestant picked a special question. From these arose a sort of wand that the host can use to reset and activate things.
As I mentioned previously, the brain behind the whole thing was just an old Arduino. I needed some terminal strips to attach the cables to, but this thing was going to sit under the table, so didn’t have to look all that great. I threw together the following frankenstein:
Overall, the project turned out great and the gameshow was well received. I have the project files up at https://github.com/BrianEnigma/Arduino/tree/master/GameshowBuzzers if you’d like to build something similar.
OMG invite me to speak at your company and I will also bring a game show for you all to play XD