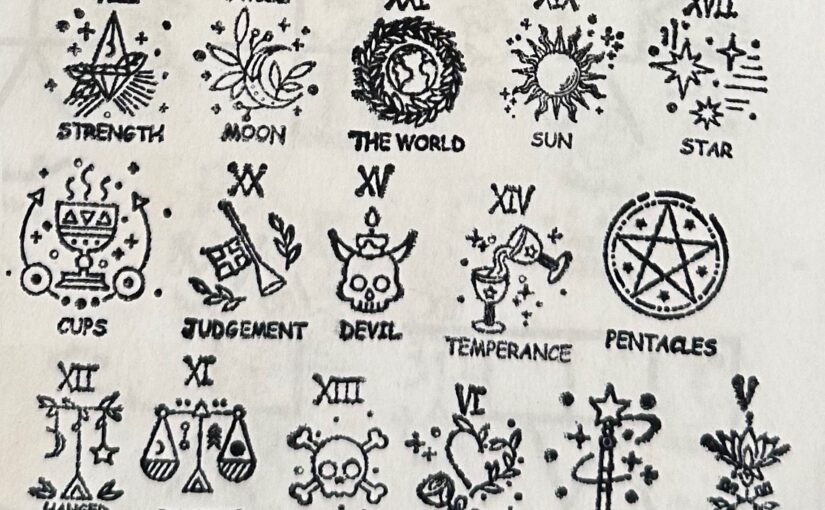
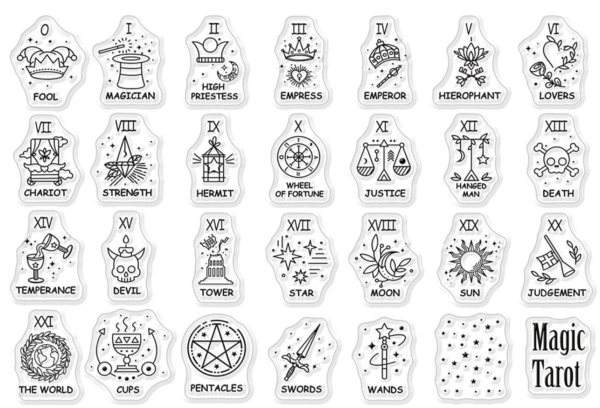
I have been absolutely inundated with ads for at least one (and I think multiple) Tarot-Journal Kickstarter projects. The central theme behind all of these ads is thus: you back the kickstarter and, if successful, they send you a tarot deck, a set of small rubber stamps, an ink pad, and a special daily journal with boxes for three stamps on each day. You can do a three-card draw, stamp those cards, and write in the journal.
I’m mildly interested, but it turns out that ① I already have too many tarot decks, ② I already have too many blank books and journals, and ③ I have difficulty keeping up with a daily journal. (Aside: I have a really wonderful 10-year journal, but usually have to go back-fill entries every few weeks.) But the stamps are cool. And they seemed like the kind of thing you could get for pennies on AliExpress. Or for $6 on Amazon. At that price, it was easily worth playing around.
The only problem with these stamps? They are ONLY the rubber (or technically, silicone) part of the stamp, not the solid block. They’re self-adhesive, and you’re supposed to buy some sort of acrylic blocks to affix them to.
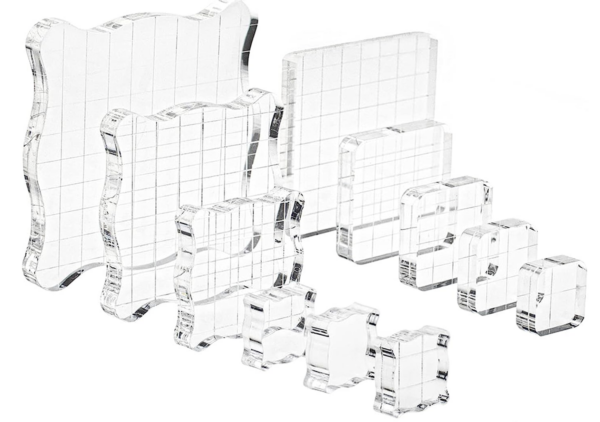
I have a laser-cutter at my disposal and some spare 1/4″ acrylic, so I could do those myself. The problem there? I wanted rounded corners for ergonomics, and that’s a little tedious to lay out by hand for 26 stamps. So I did what any self-respecting computer professional would do: I wrote a script to do this for me, in far more time than it would have taken to do by hand.
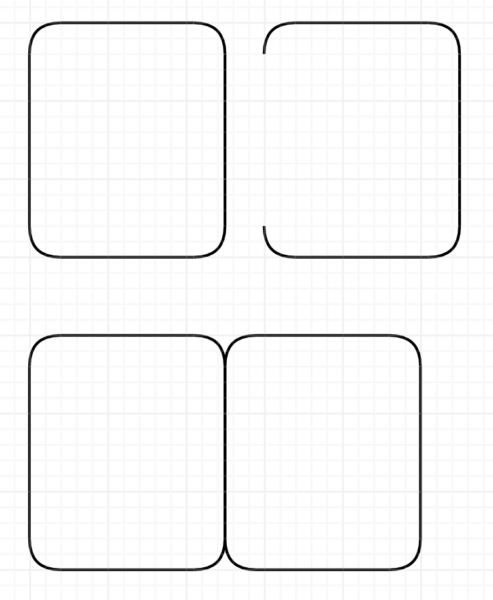
In laser-cutting, you don’t want a line directly on top of another line. That will cause the laser to pass through the same area twice. At best, it wastes production time. At worst, it can cause extra scorching of your material or the bed that your material sits on. If you have two rounded-rectangles, you can’t just move them together so they’re touching:
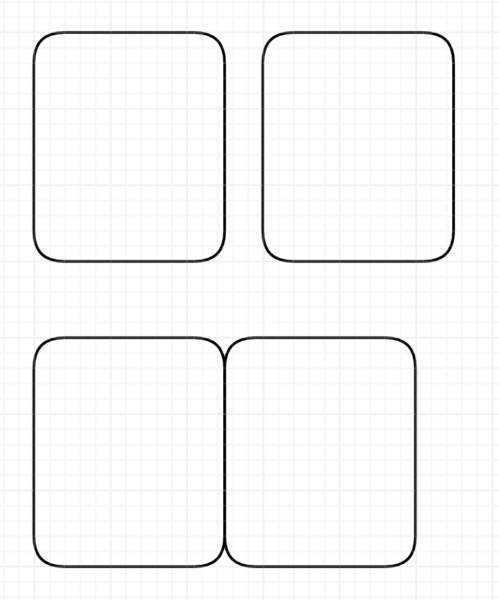
That shared line is both the right edge of the left square and the left edge of the right square. The laser passes through there twice. Instead, you have to delete one of the duplicate lines before moving them to touch:
The same concept applies if you stack them. Instead of deleting the line on the left, you delete the line on the bottom. You basically end up with a rounded-rectangle missing two sides that you can then stack horizontally and vertically:
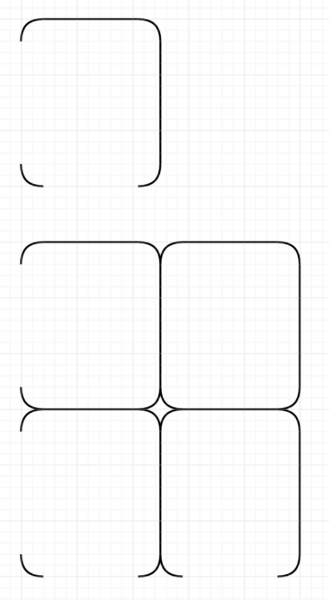
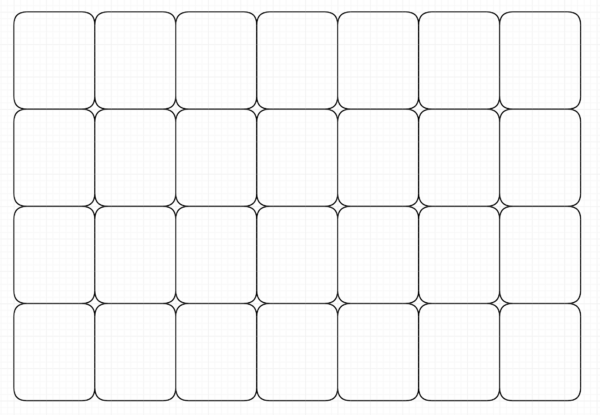
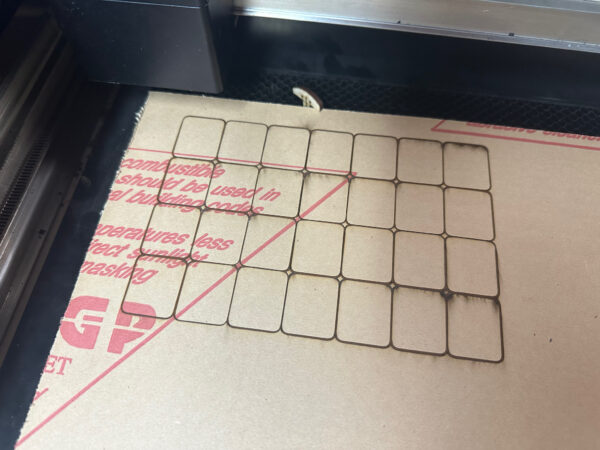
You can tile that one shape out as far as you want horizontally and vertically, and then all you need to do is fill in the left edges and bottom edges. And so, you have your acrylic stamp backings:
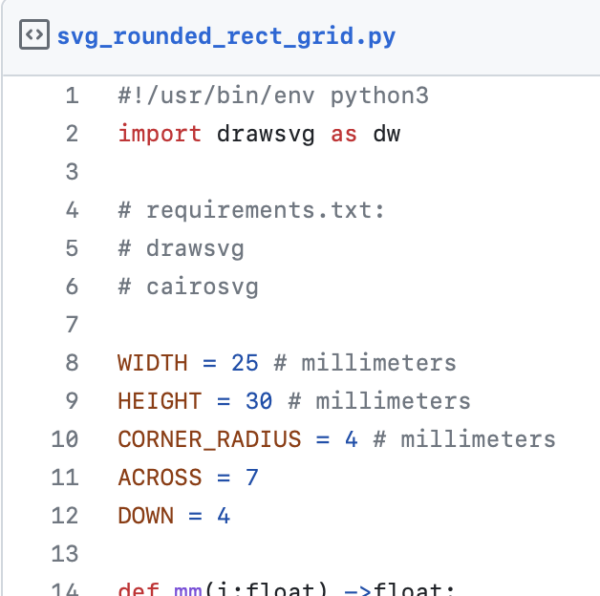
The code itself is fairly simple. If it was purely for visuals, I could have simplified it even further, but I wanted each path to keep flowing around, clockwise, with adjacent edges next to one other in the vector file. This helps optimize the path the laser takes when cutting.
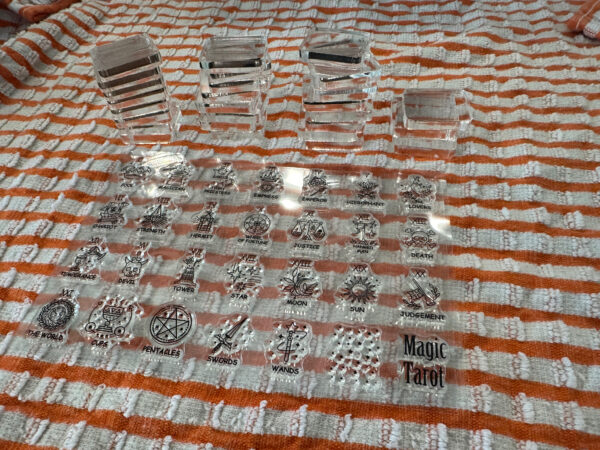
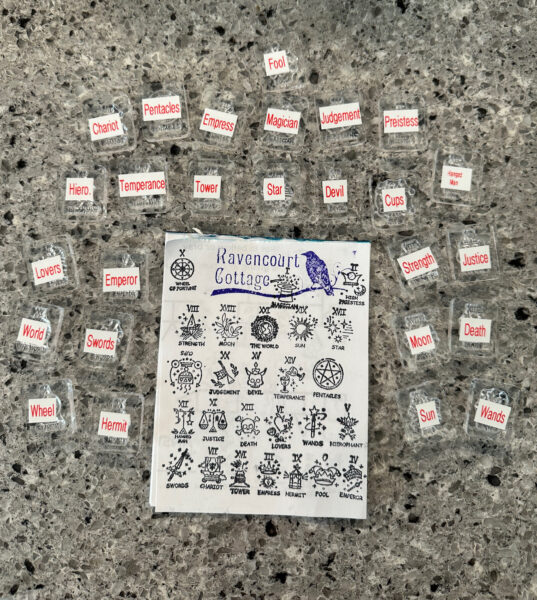
Another problem I found was that the ink doesn’t really leave residue on the silicone. In theory, you’re supposed to look through the clear acrylic at the stamp underneath and see exactly what it is. In practice, it’s a blurry clear blob attached to a transparent square. I made some hasty labels to tell one from another.
Ultimately, I’d say they turned out reasonably well. They’re 100% usable, don’t take up much space, and were a fun little coding project I’d been meaning to do for quite some time.