In a previous post, I talked about designing and laser-cutting some “poker chips” for playing Sabacc. It also briefly touched on two storage racks I’d 3D printed for them. I completely glossed over some big failures in the design of the “long rack” — the rack for just storing a ton of low-value chips.
That rack went through quite a few revisions before reaching the one you see here. In fact, the original design was to make it end-loaded. Even after several revisions, it proved to be untenable. I’m sure it would have worked great with discs, but since these chips are hexagonal, they kept getting twisted and wedged at weird angles, clogging the tube. The designs had wide finger-holes to help poke at and guide the chips, but none of them really worked out well.
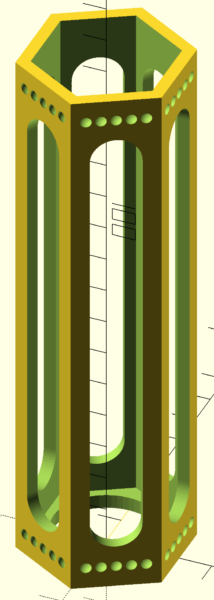
The first rack had very wide finger holes. I decided those would help with guiding the chips down the tube if they got stuck. It was a good idea, but due to the nature of 3D printing and the strength of the material, those “legs” connecting the top and bottom (i.e. the “positive space” when you carve out the “negative space” of the finger holes) were just way too thin for a structure that long. One broke during printing and the rest were kind of flimsy. This might have been compensated for by thicker walls, but then the tube would have felt kind of clumsy and clunky.
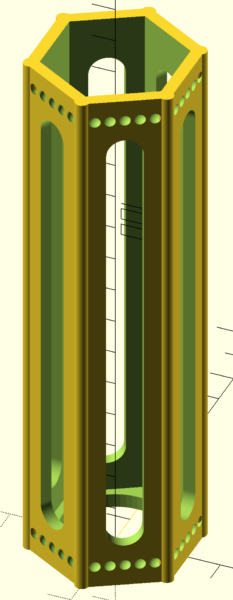
The second revision attempted to compensate. It shrunk the finger slots a bit and added reinforcements on the weaker edges. It “worked” structurally, but the slots were just too small. Chips got easily wedged, they were difficult to unwedge or to manually guide down.
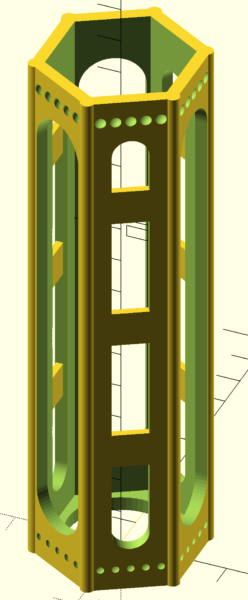
The third design was a hack. Visually terrible, but tried to combine elements of the first two. The extra supporting columns at the edges are still there. The finger holes alternate. There are three of the narrow finger holes, with horizontal reinforcements. These give it more structure as well as act as a visual indicator of “don’t use these.” The wide finger holes are way larger than the original design. This one was still awkward, and terrible-looking to boot.
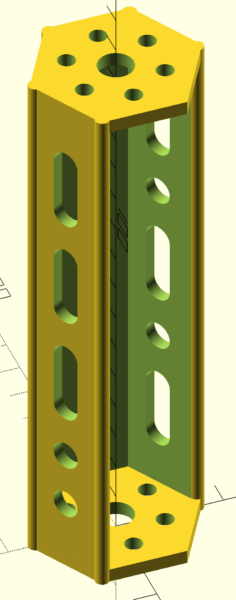
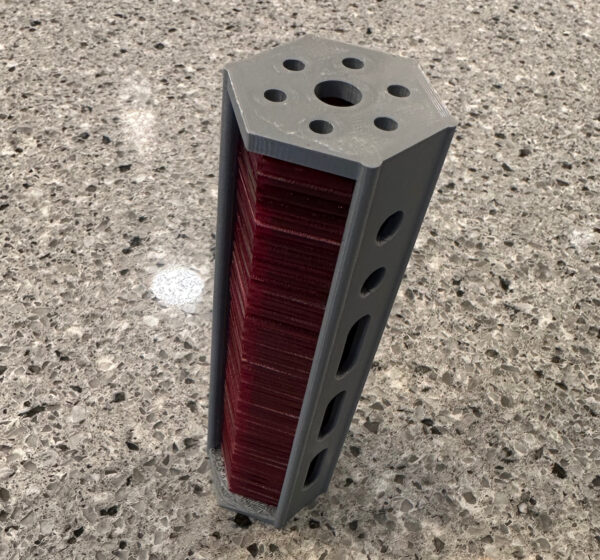
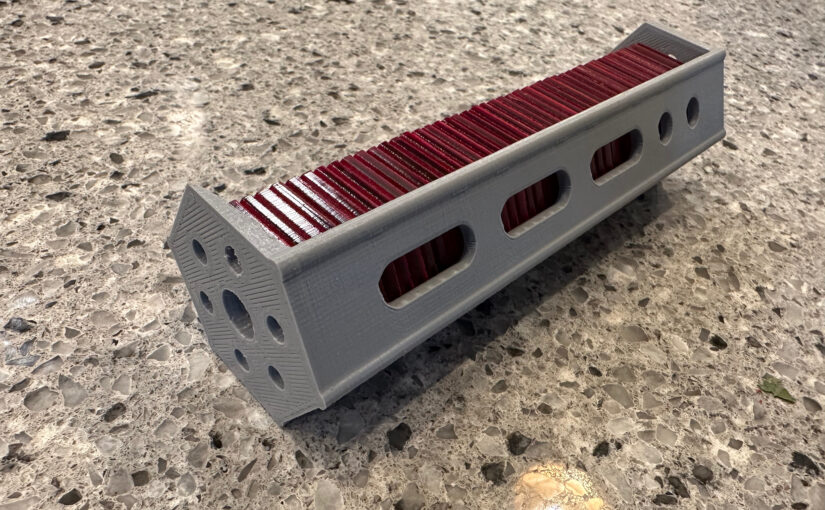
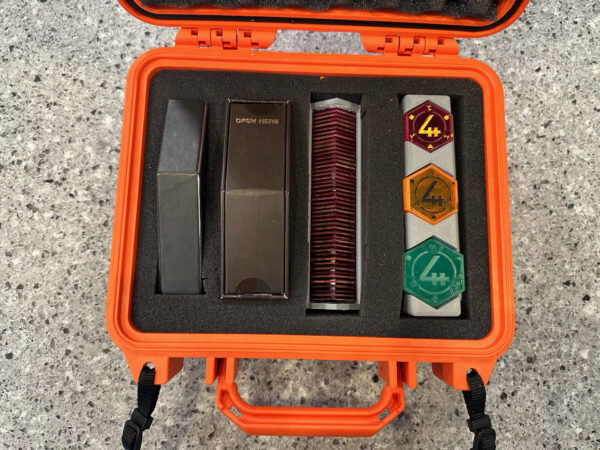
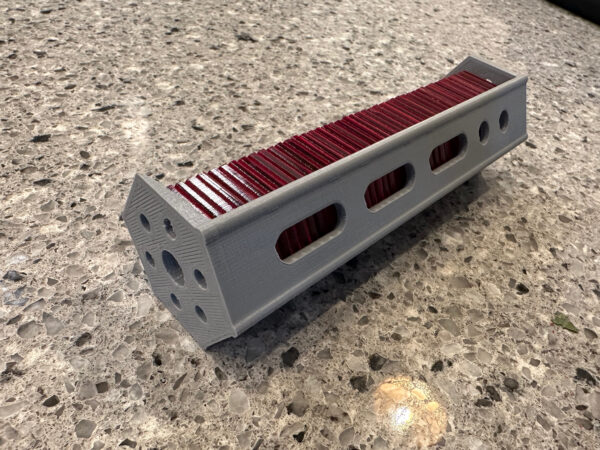
The final design was a complete rethinking of the rack. Side-loading instead of end-loading. This would be fine, both sitting on a table and in the padded Pelican case. The structural and non-usable finger holes from the previous design are turned into the decorative ovals-and-circles pattern common on walls in the Star Wars universe. These could have been solid, but I felt the decorations more fun. The two end holes — the large one for inserting chips and the small one for poking them out — turn into more decorative holes. And two adjoining faces of the hex are completely open, to allow for racking in chips. Chips still can get twisted a little and not seat properly, but they are easily twisted to fit. Overall, it’s a much cleaner design. It has a balance of form and function that I really appreciate. This ended up being the final design.