Every fall I bust out the candlemaking supplies. My skill in that department isn’t going to place my candles in fancy boutiques, but they’re functional enough to provide some warmth and ambience throughout the winter. And every year I hone that skill or broaden the scope to adjacent domains.
I’ve mainly stuck to producing container candles — you know, a glass jar full of wax and a wick. Although I like pillar candles, each requires a mold. In one batch you can only make as many as you have molds. It takes several hours for the wax to set enough to reuse the mold. Buying new molds adds up. I’ve never been a fan of the slow process of dipping wicks to make taper candles. That’s just not been on my radar.
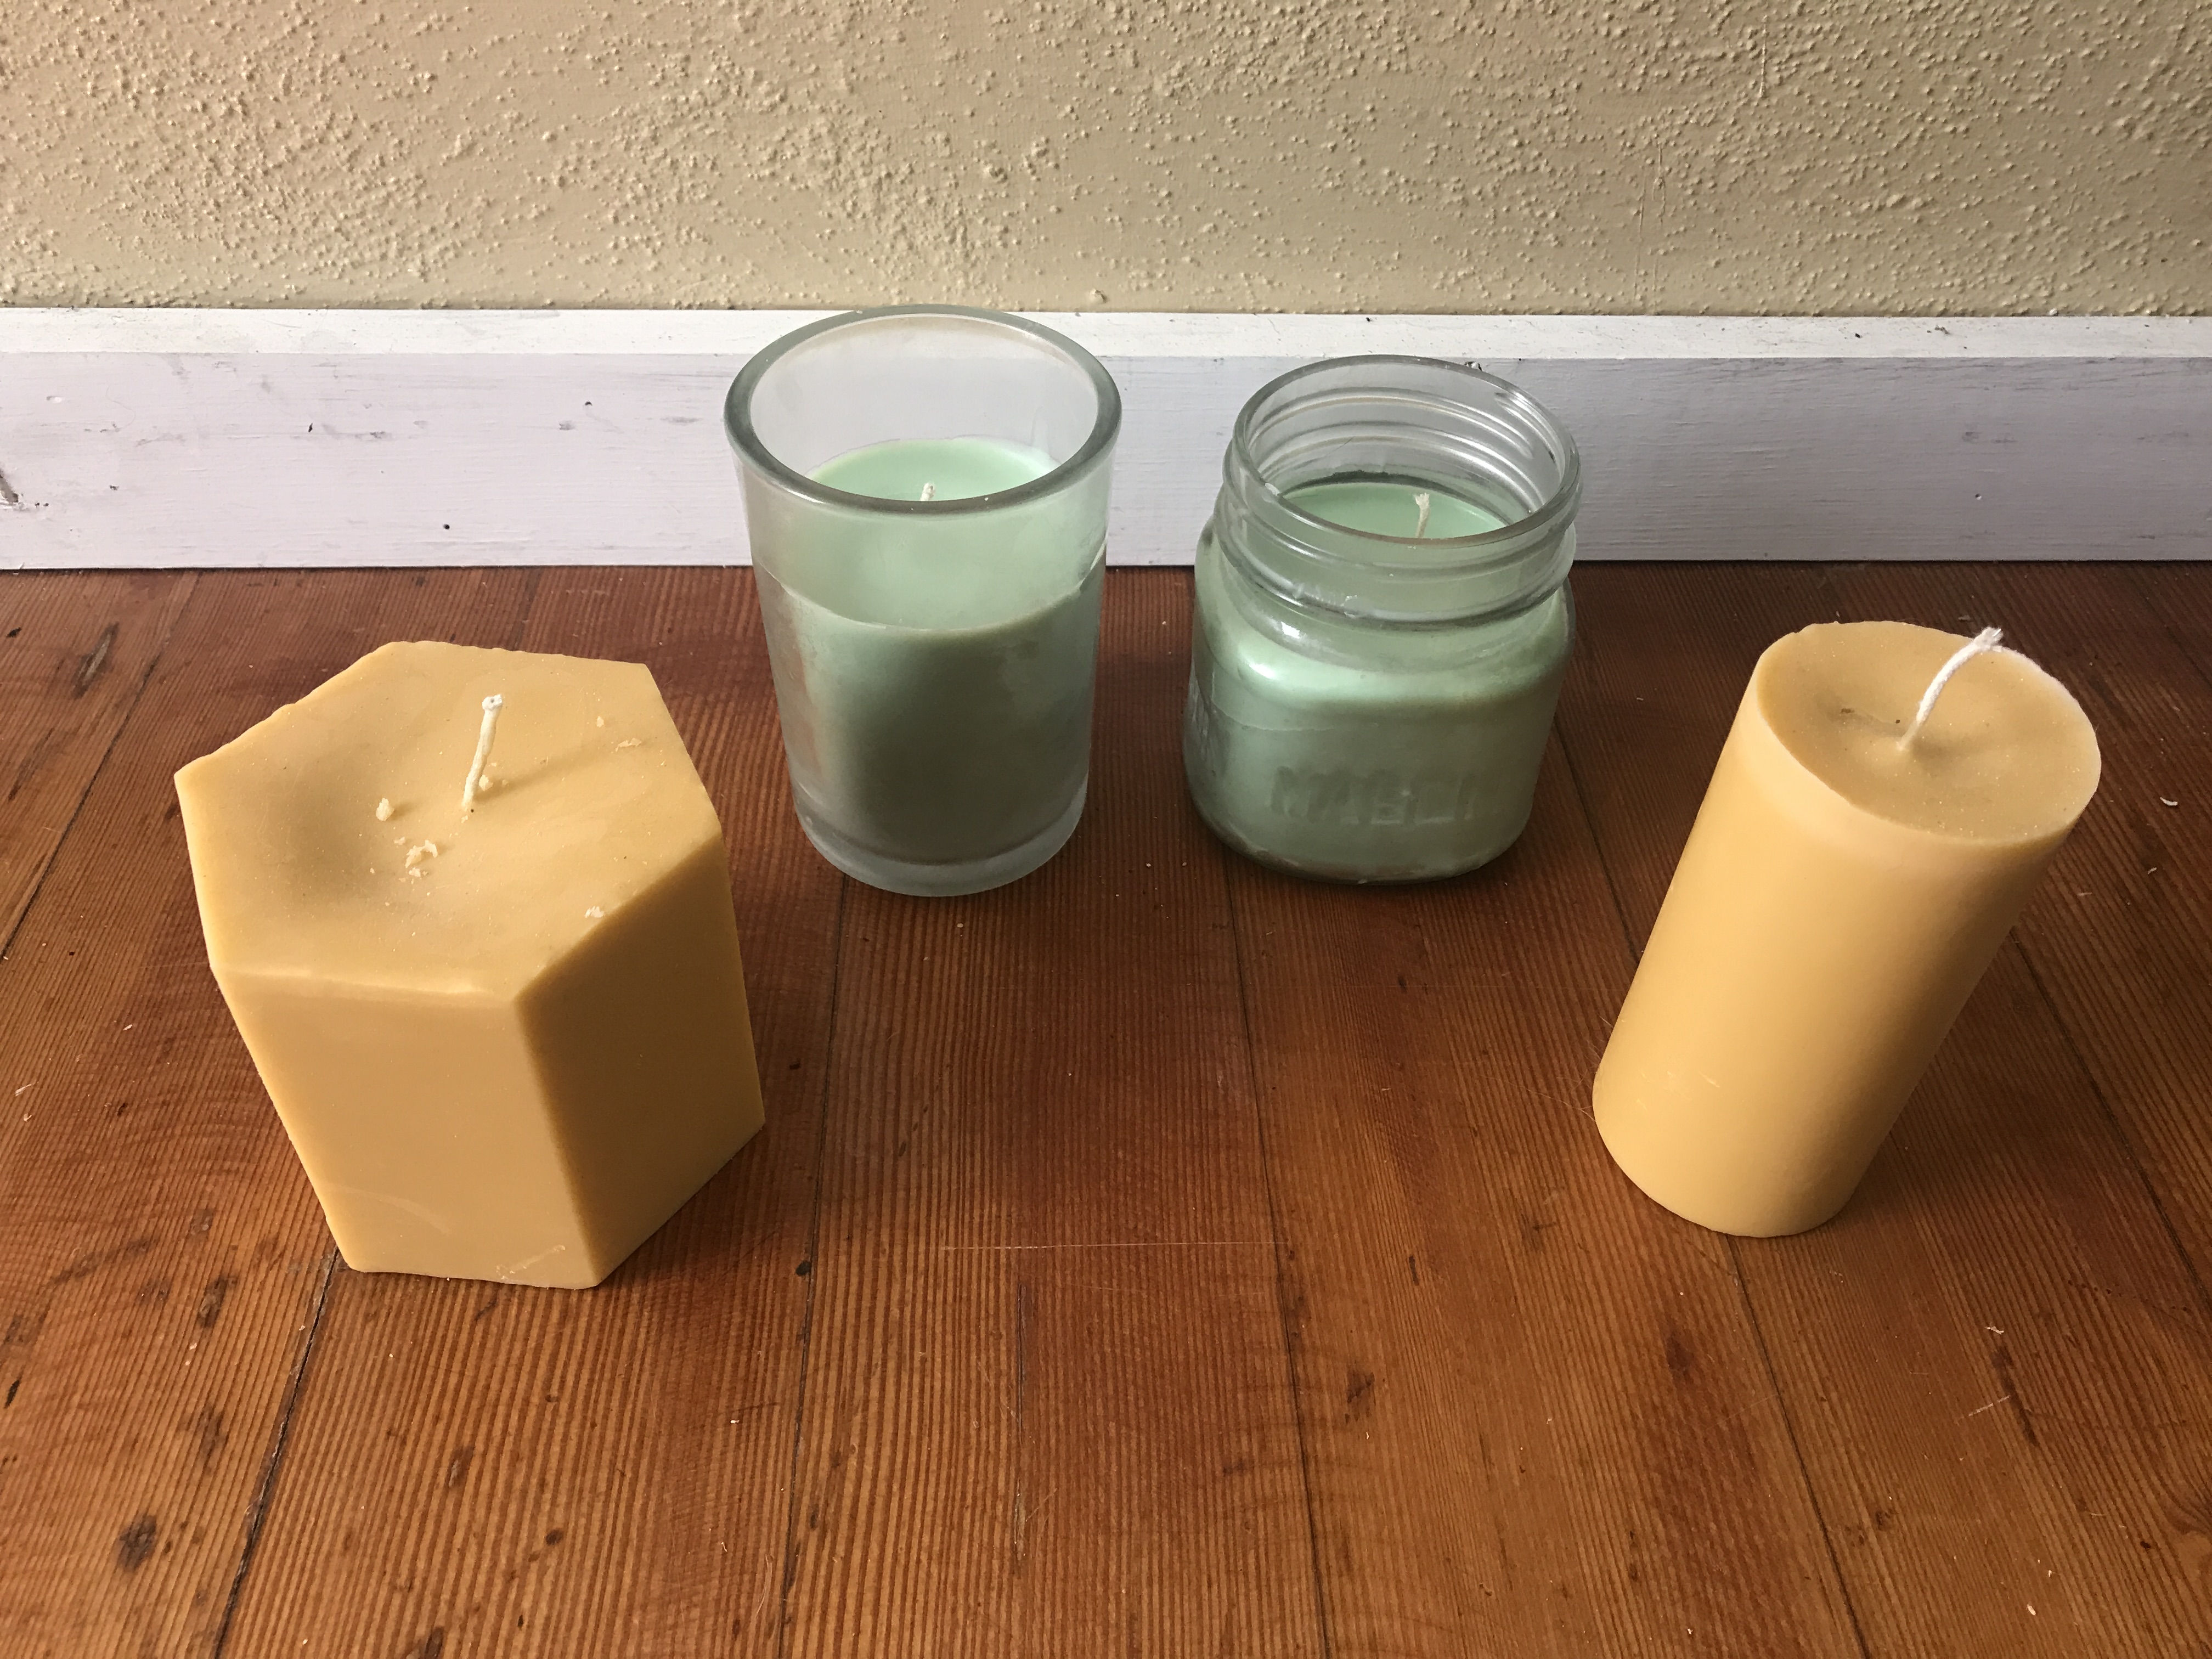
But like pillars, you’re limited in producing container candles by the number of containers you have. I reuse mine, but even still, I started with a limited supply. This limitation led me to glass cutting. With a bottle-cutting jig, I can turn any wine or beer bottle into a candle container. Well…. perhaps not any, but maybe one-in-four based on my success rate at not destroying a bottle in the process of cutting it.
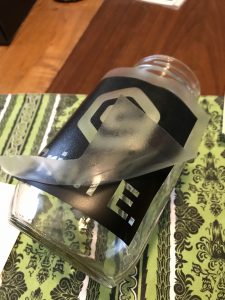
This led in turn — in an effort to make the bottles more interesting — to experiments in glass etching. The first experiments were… not spectacular. This was one of my first bottles, placed in just the right light, with a lot of photographic post-processing. Under normal conditions, the design is almost invisible to the naked eye.

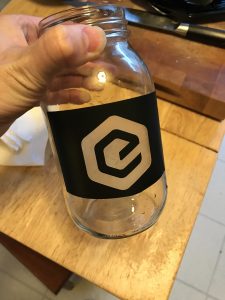
That design came from a generic vinyl sticker pack specifically designed for glass etching. In an effort to learn and grow, I thought I’d try my hand at creating my own template. I don’t (yet) have my own laser cutter, nor do I have a vinyl cutter, so I went with what I do have access to. Sticker Mule does cut vinyl stickers. Given that I could only use a sticker for glass etching once, at the low quantities I needed, the price was a little outrageous but not impossible. I ordered the smallest pack of the smallest size.

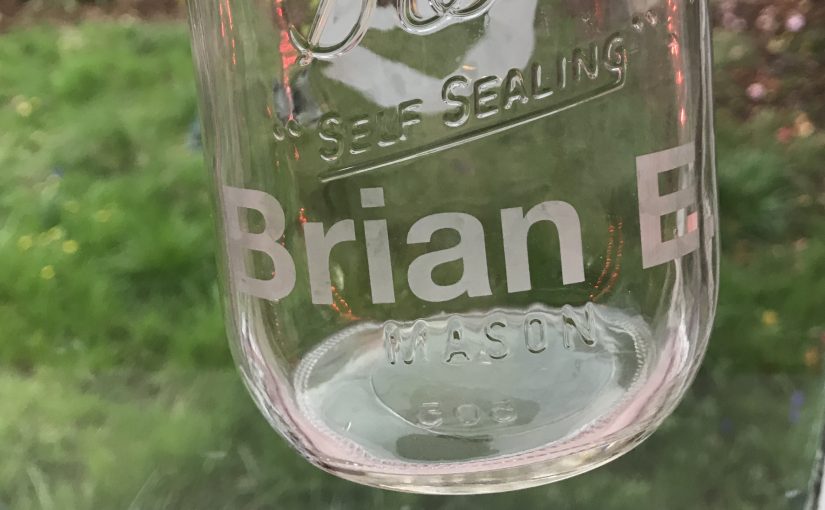
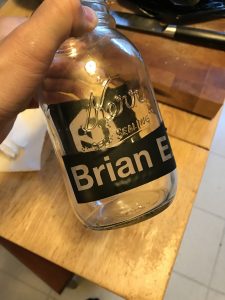
(That logo is my company’s brandmark. There’s a limited supply of large mason jars in the lunch room and they all seem to migrate to peoples’ desks.)
The first step is to apply the sticker to the jar. Here are two different jars (one with name and logo on opposite sides).
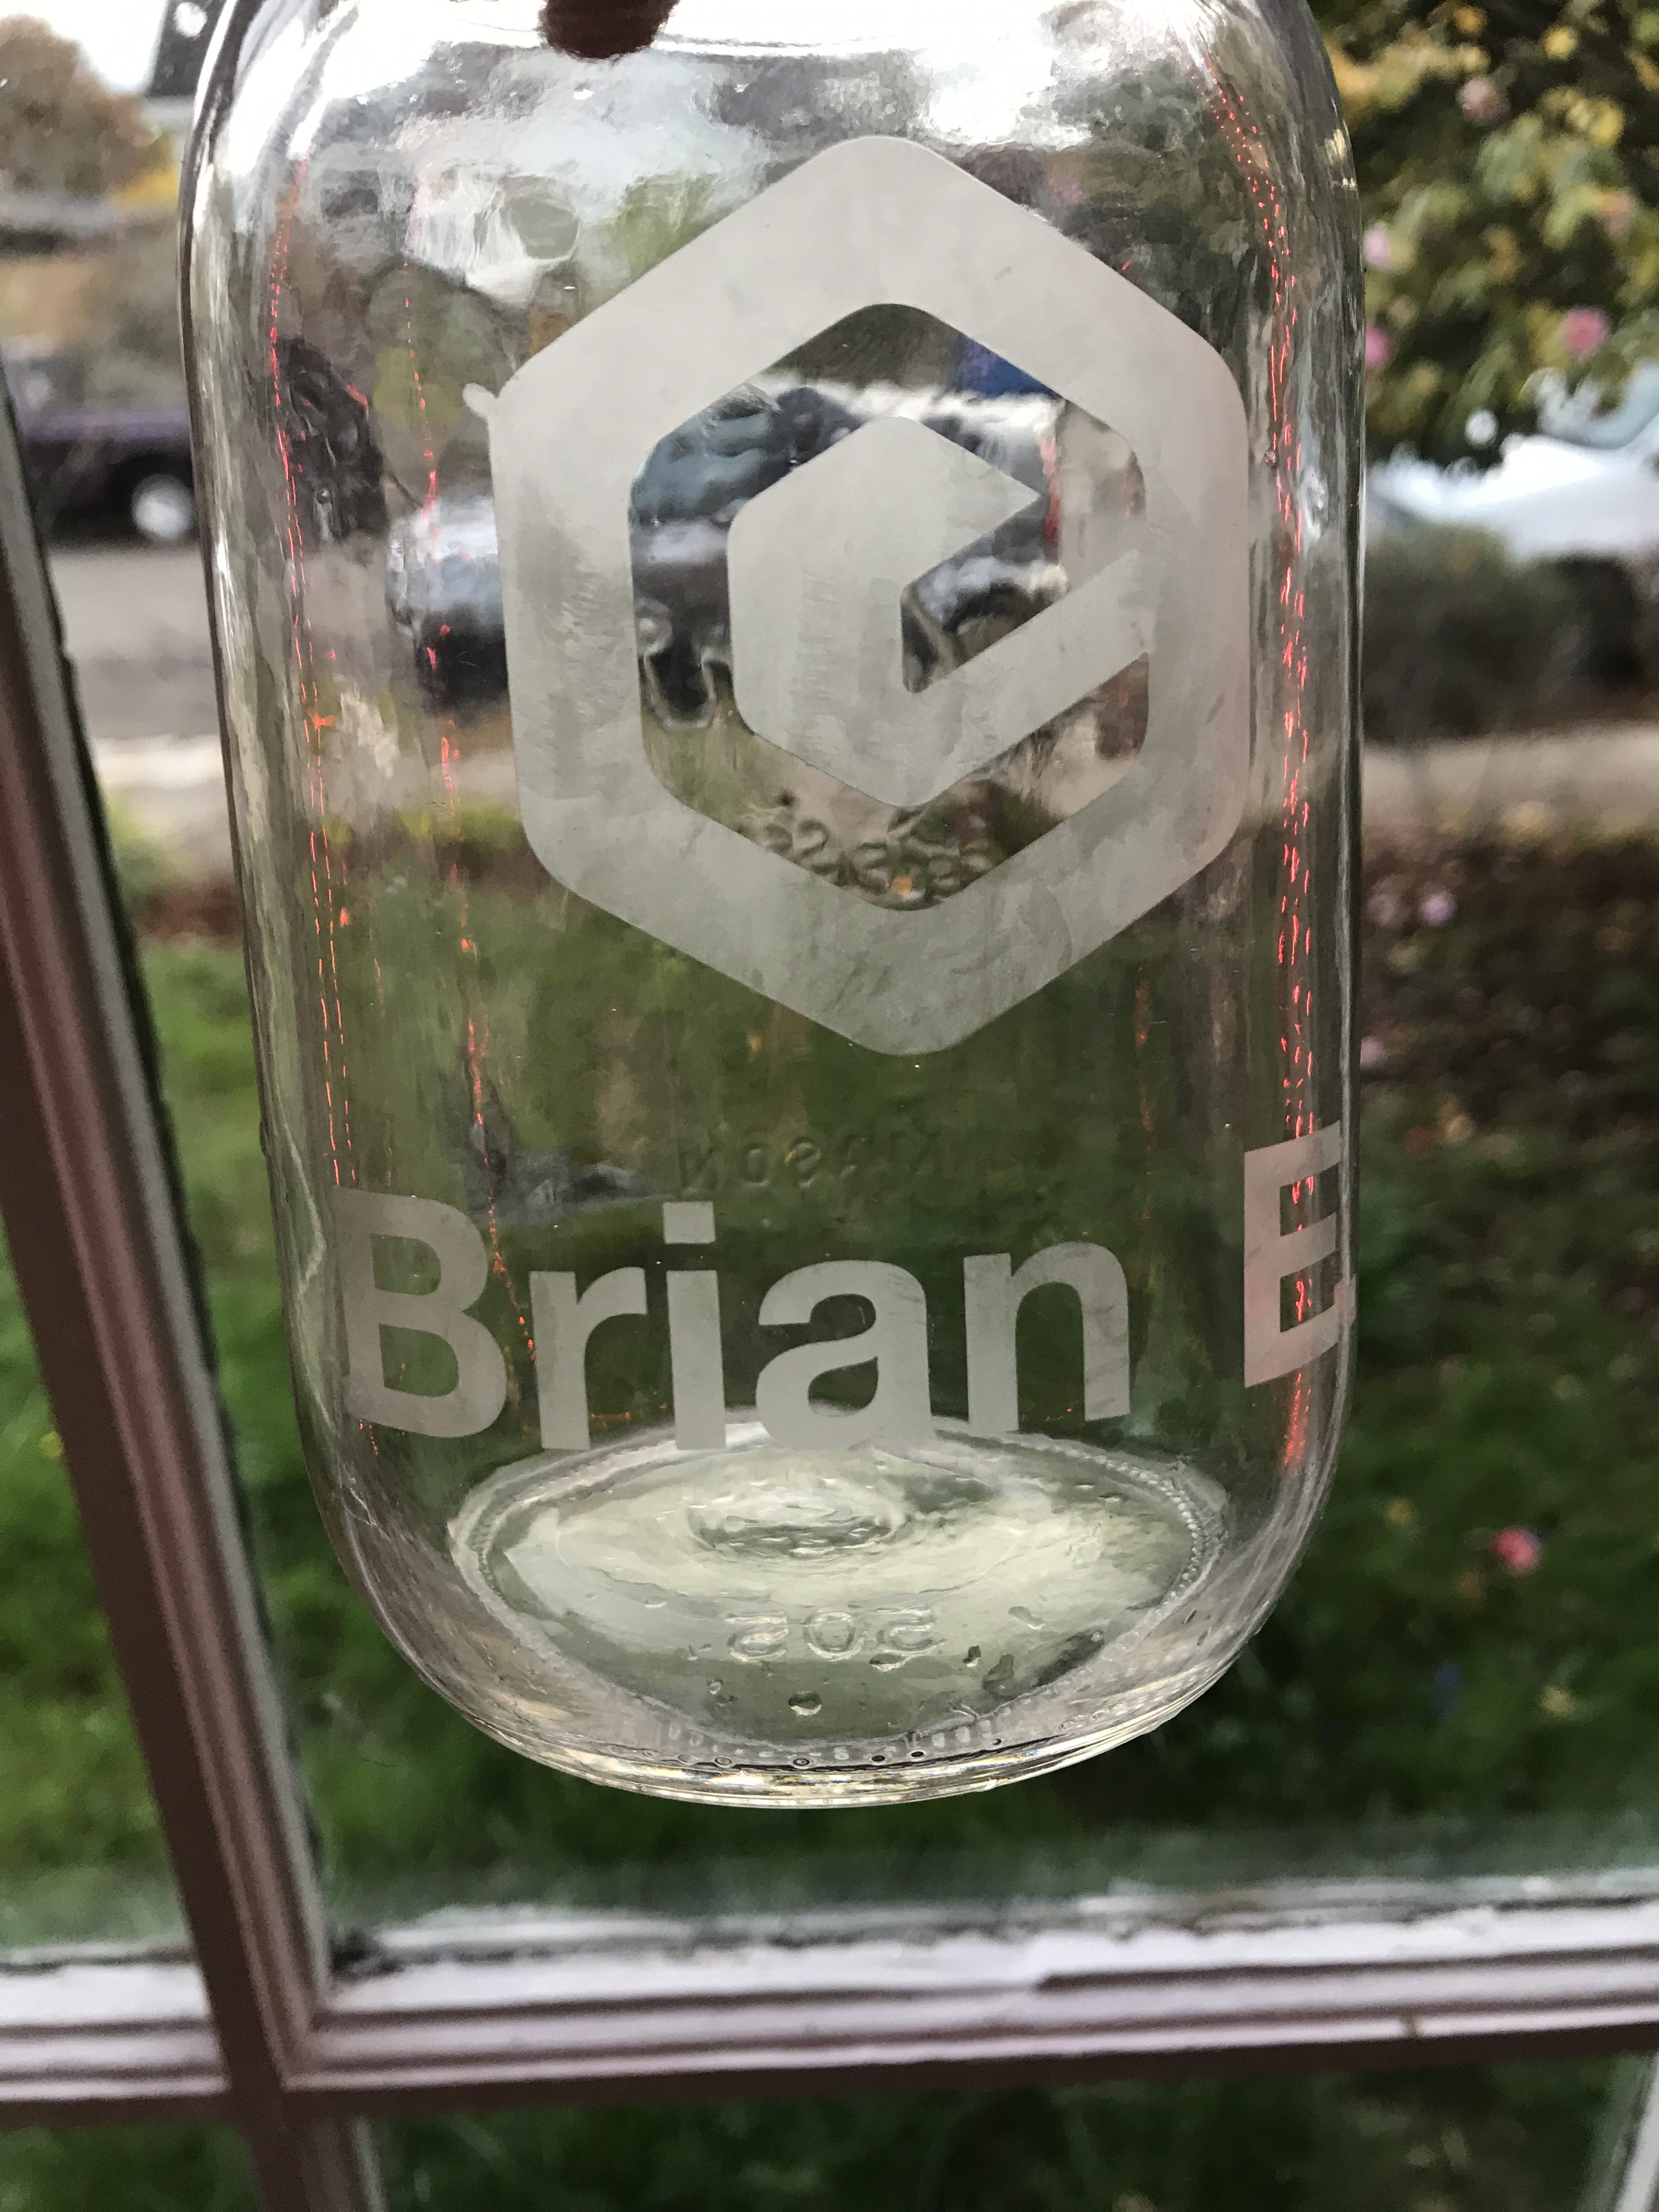
The curve of the jar didn’t mesh well with the two-dimensionalness of the sticker. This wrinkle in the top-left corner let some of the etchant through, resulting in a little teardrop hanging off the side of the logo.

The next step is to apply the etchant.
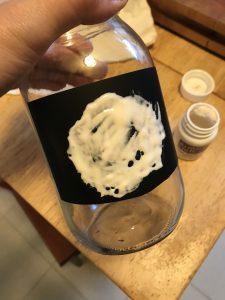
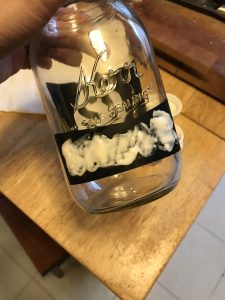
If I recall correctly, I went with two coats: etch, wash away with water, let dry, etch again. I was really concerned with the result being too faint, like the beer bottle. But then, this is different glass from beer bottles, so it was difficult to know for sure how well the etchant would take.
The result, if I don’t mind saying, is an elegantly etched mason jar. Just ignore the teardrop offshoot on the logo (which you probably wouldn’t even have noticed, had I not pointed it out).
One thought on “Experiments in Glass Etching”