Adafruit sells this great little microprocessor called the Trinket. That last link is to the 5v one, but there is also a 3.3v variant. They are a great little development board, based around the Atmel ATtiny, for when a full Arduino is just too much processing power and too much cost.
There is an upcoming project that I am working on that is perfect for a Trinket. It will be on my desk, connected to an AC adapter and a few remote components such as LEDs and buttons. I am not comfortable with having a bare Trinket just dangling and sliding around the desk. A full enclosure feels like overkill. I thought I would, instead, go with a mounting plate. The Trinket and power jack can mount directly to the plate; the wires and connections can zip-tie to the plate as a strain-relief.
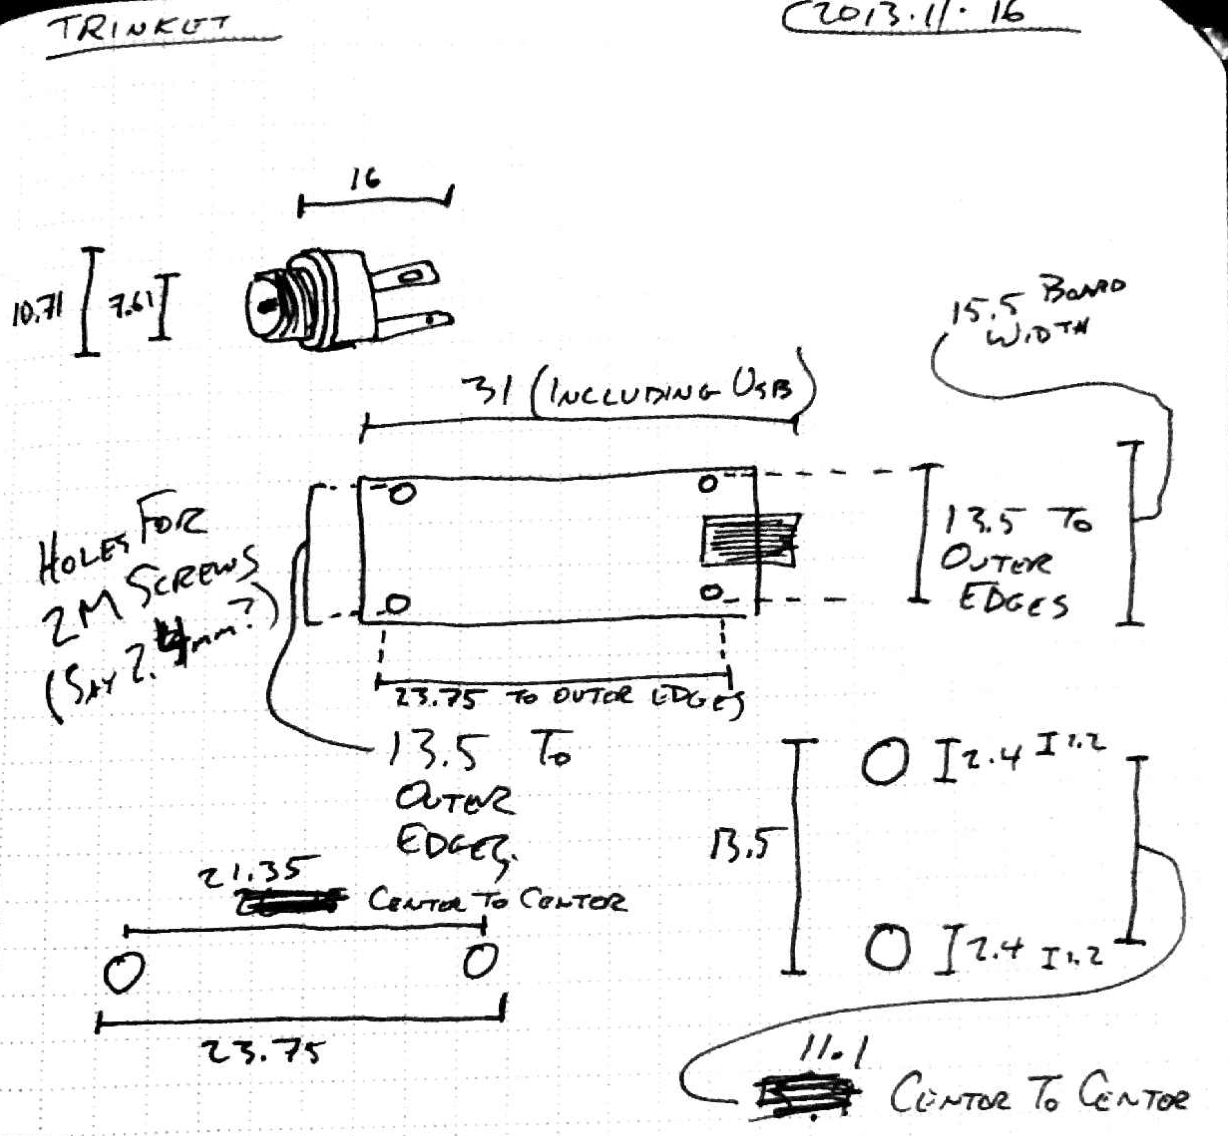
I took a few measurements and set about to designing a 3D model to print.
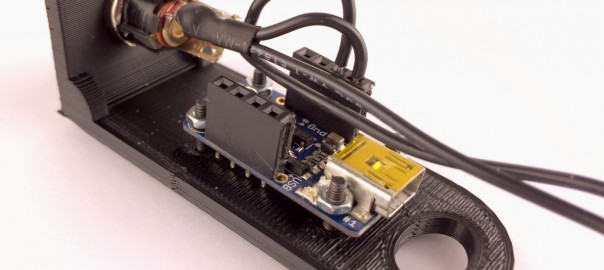
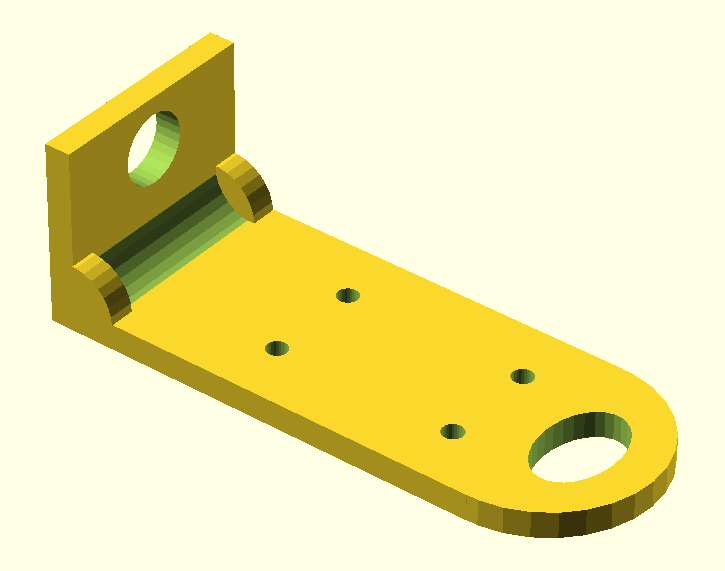
I ended up with the following design, which I’m calling the Trinket Platter. The Trinket connects to the base with M2 screws. The DC power jack panel-mounts to the vertical surface. You can zip-tie wires to oval hole. Because the 90-degree angle between the two surfaces is a stress point, I designed that corner with its own form of strain relief. The outside edges have quarter-circles. The inside corner edge is rounded, not sharp.
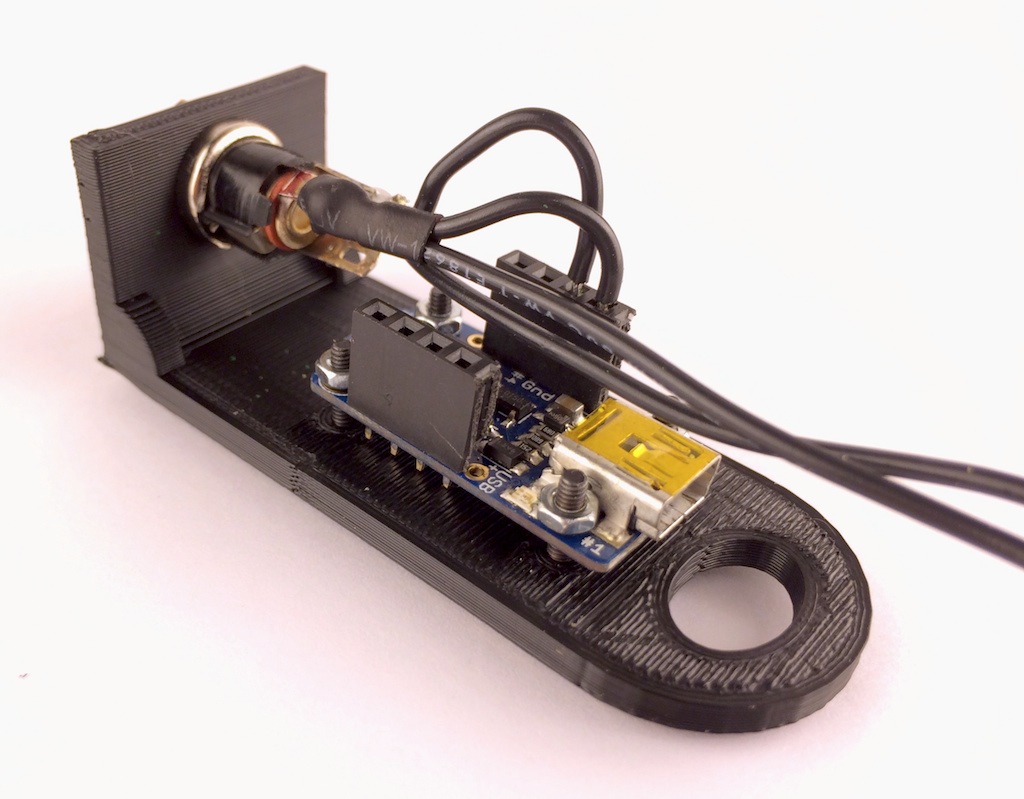
After printing and initial test mounting, I ended up with this:
The 3D file, the OpenSCAD source file, and more detailed instructions can be found on the trinket-platter GitHub page. You’ll see more of this little guy in the coming month.
Update: Apparently I only set up the GitHub project page without also uploading the STL to Thingiverse when I published this article. You can now find it on Thingiverse.
2 thoughts on “Introducing the Trinket Platter [Update]”