As you might have guessed from the previous post about attic rats, I had a few leftover rat traps. And what does one do with leftover traps? I supposed you could do something cool with ping pong balls, but I did not have nearly enough traps or ping pong balls.
I have a vague childhood memory of people making “cars” from mouse traps. I do not think I ever saw one in person, but I somehow know the design. I imagine it graced the pages of Boys Life at some point. As I remember it, the basic design is this: four eyelet screws, screwed into the mouse trap base to hold the axles in place. Two pencils or wooden dowels, used as axles. Four wheels, maybe cut from wood? A piece of string or wire. You would remove the “trap” mechanism from the mousetrap — the “cheese platform” and retaining bar — leaving you with just the snappy part on a piece of wood. That becomes the spring-loaded mechanism, like a badass powerful wind-up car. Tie one end of the string to that, pull the snappy part over and hold it in place, wrap the other end of the string around the axle, put it on the floor, and let go. The snappy part pulls the string, spins the axle, and makes the wheels go.
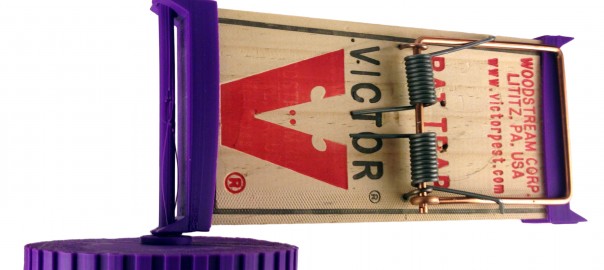
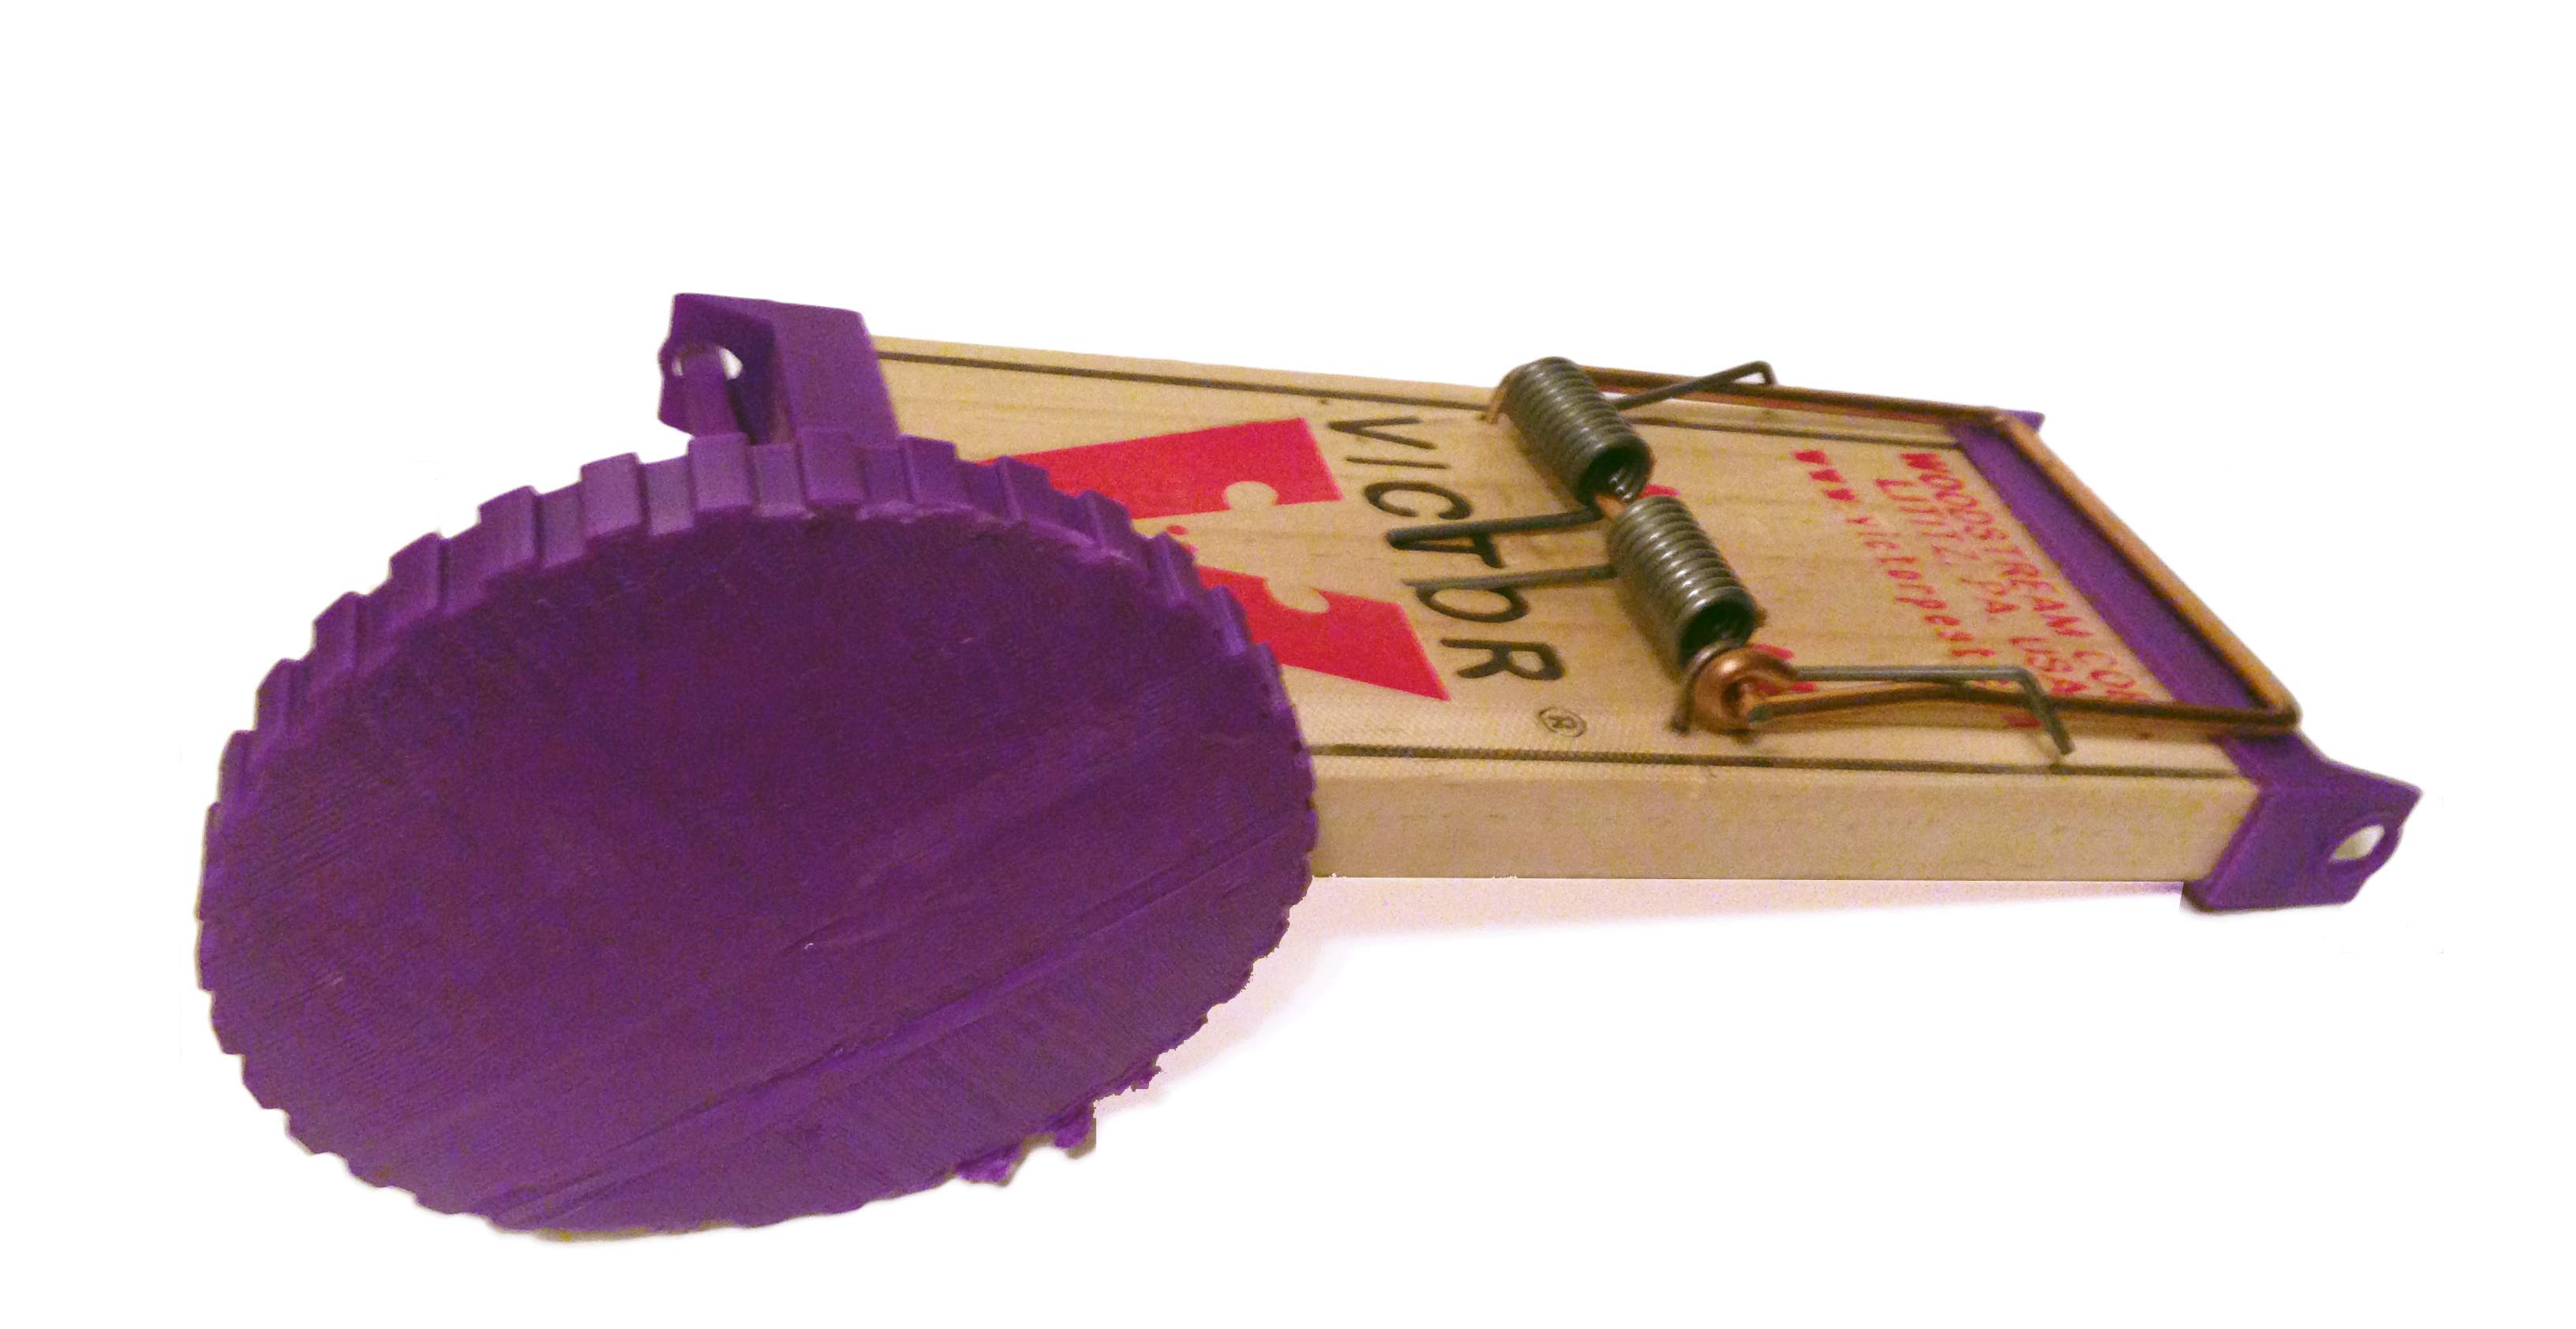
What I have are rat traps, which are a bit more hefty, snappy, and dangerous to the fingers than little mouse traps, but I thought I would give it a try. I live in the 21st century and have a Replicator in my lab. I didn’t feel like messing around with pencils, screws, and saws. Also, I felt my Thingiverse account was getting a bit stale and needed a new upload. I set out to design 3D-printed rat trap attachments that provided the required elements.
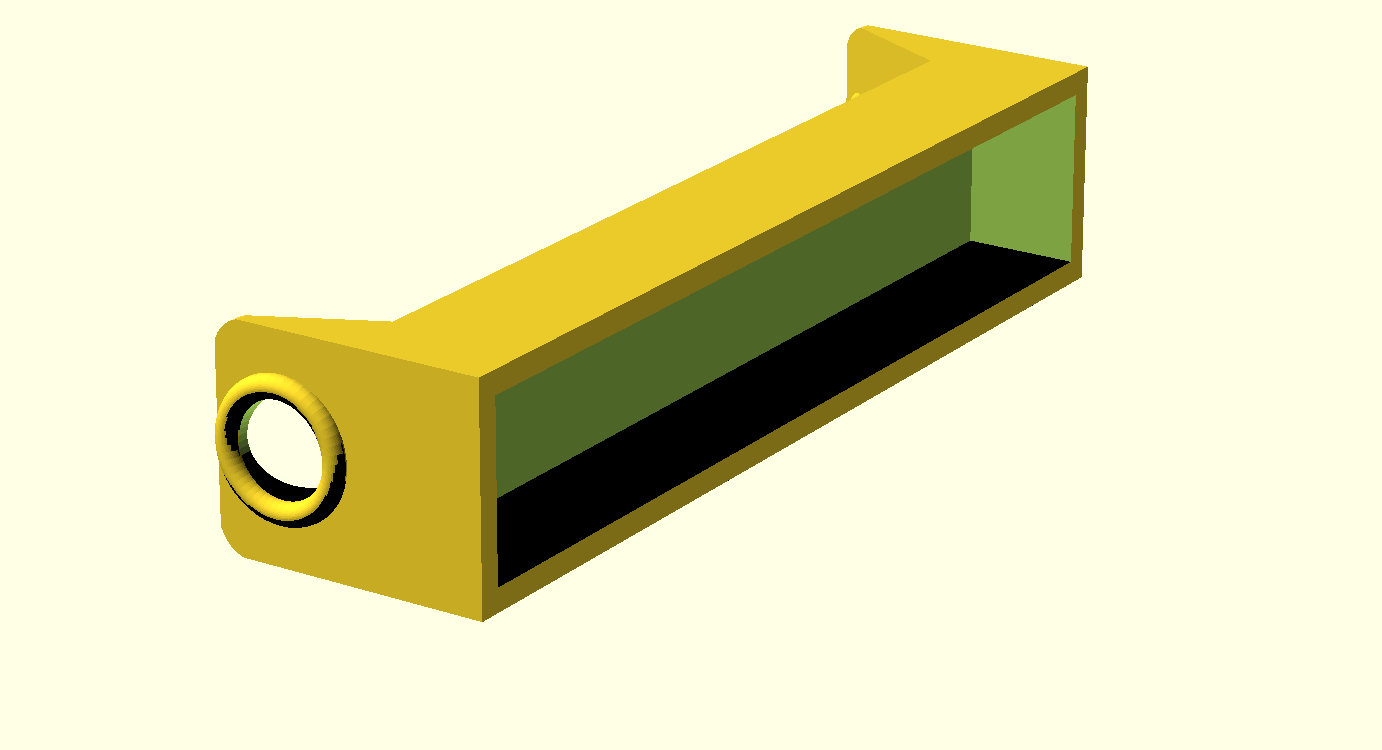
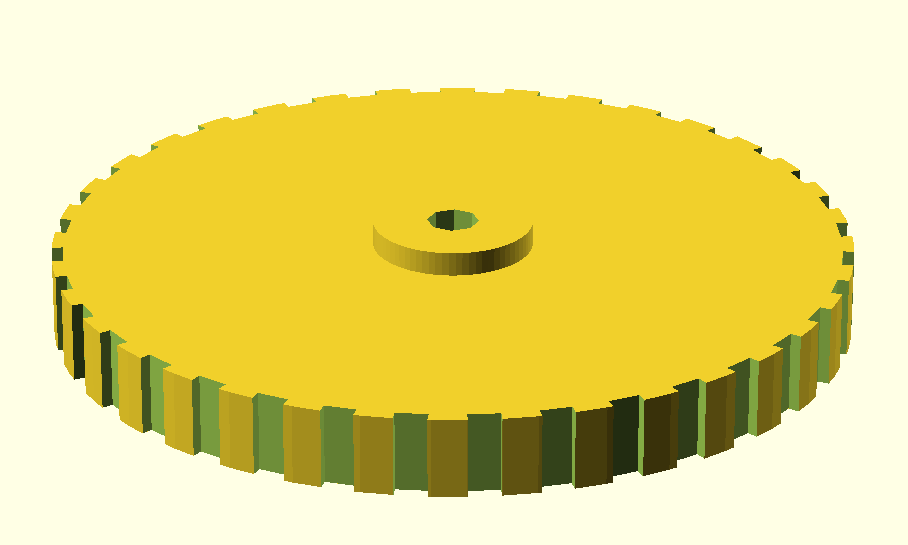
I took my calipers to a couple of Victor brand rat traps to get a general sense of size. They are made of wood, so have minor inconsistencies between them. I then designed end caps, axles, and wheels.

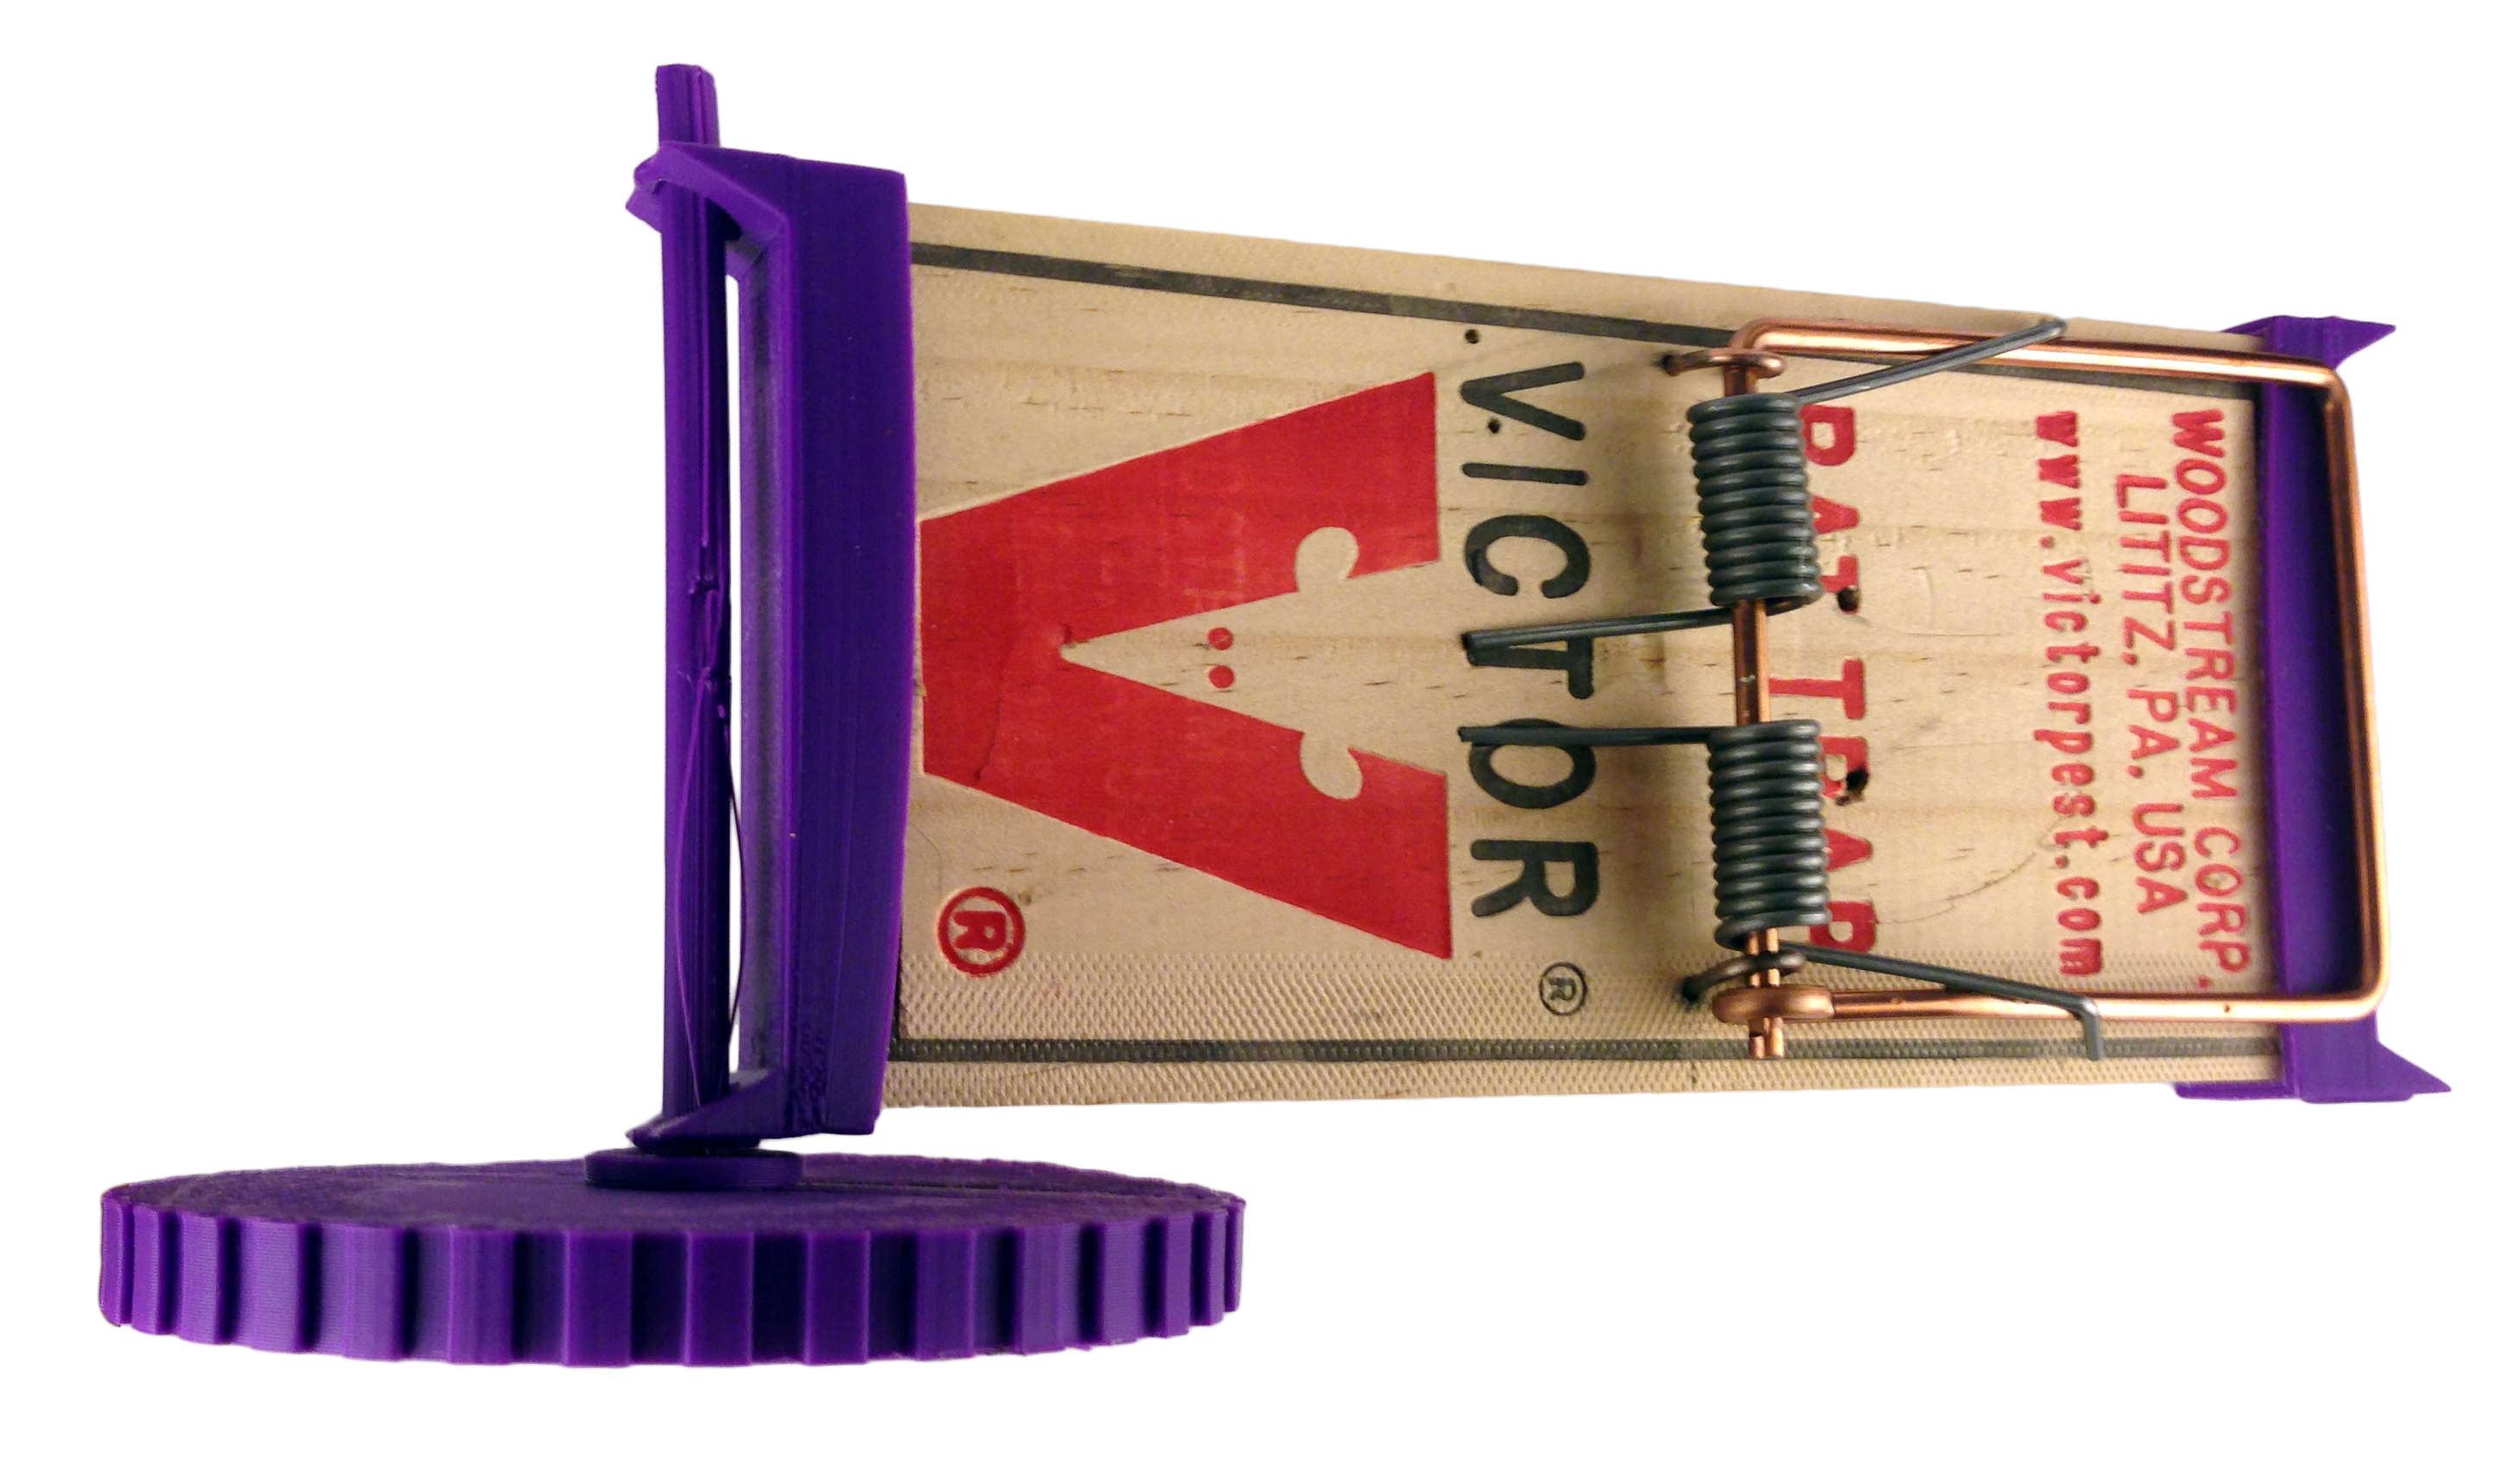
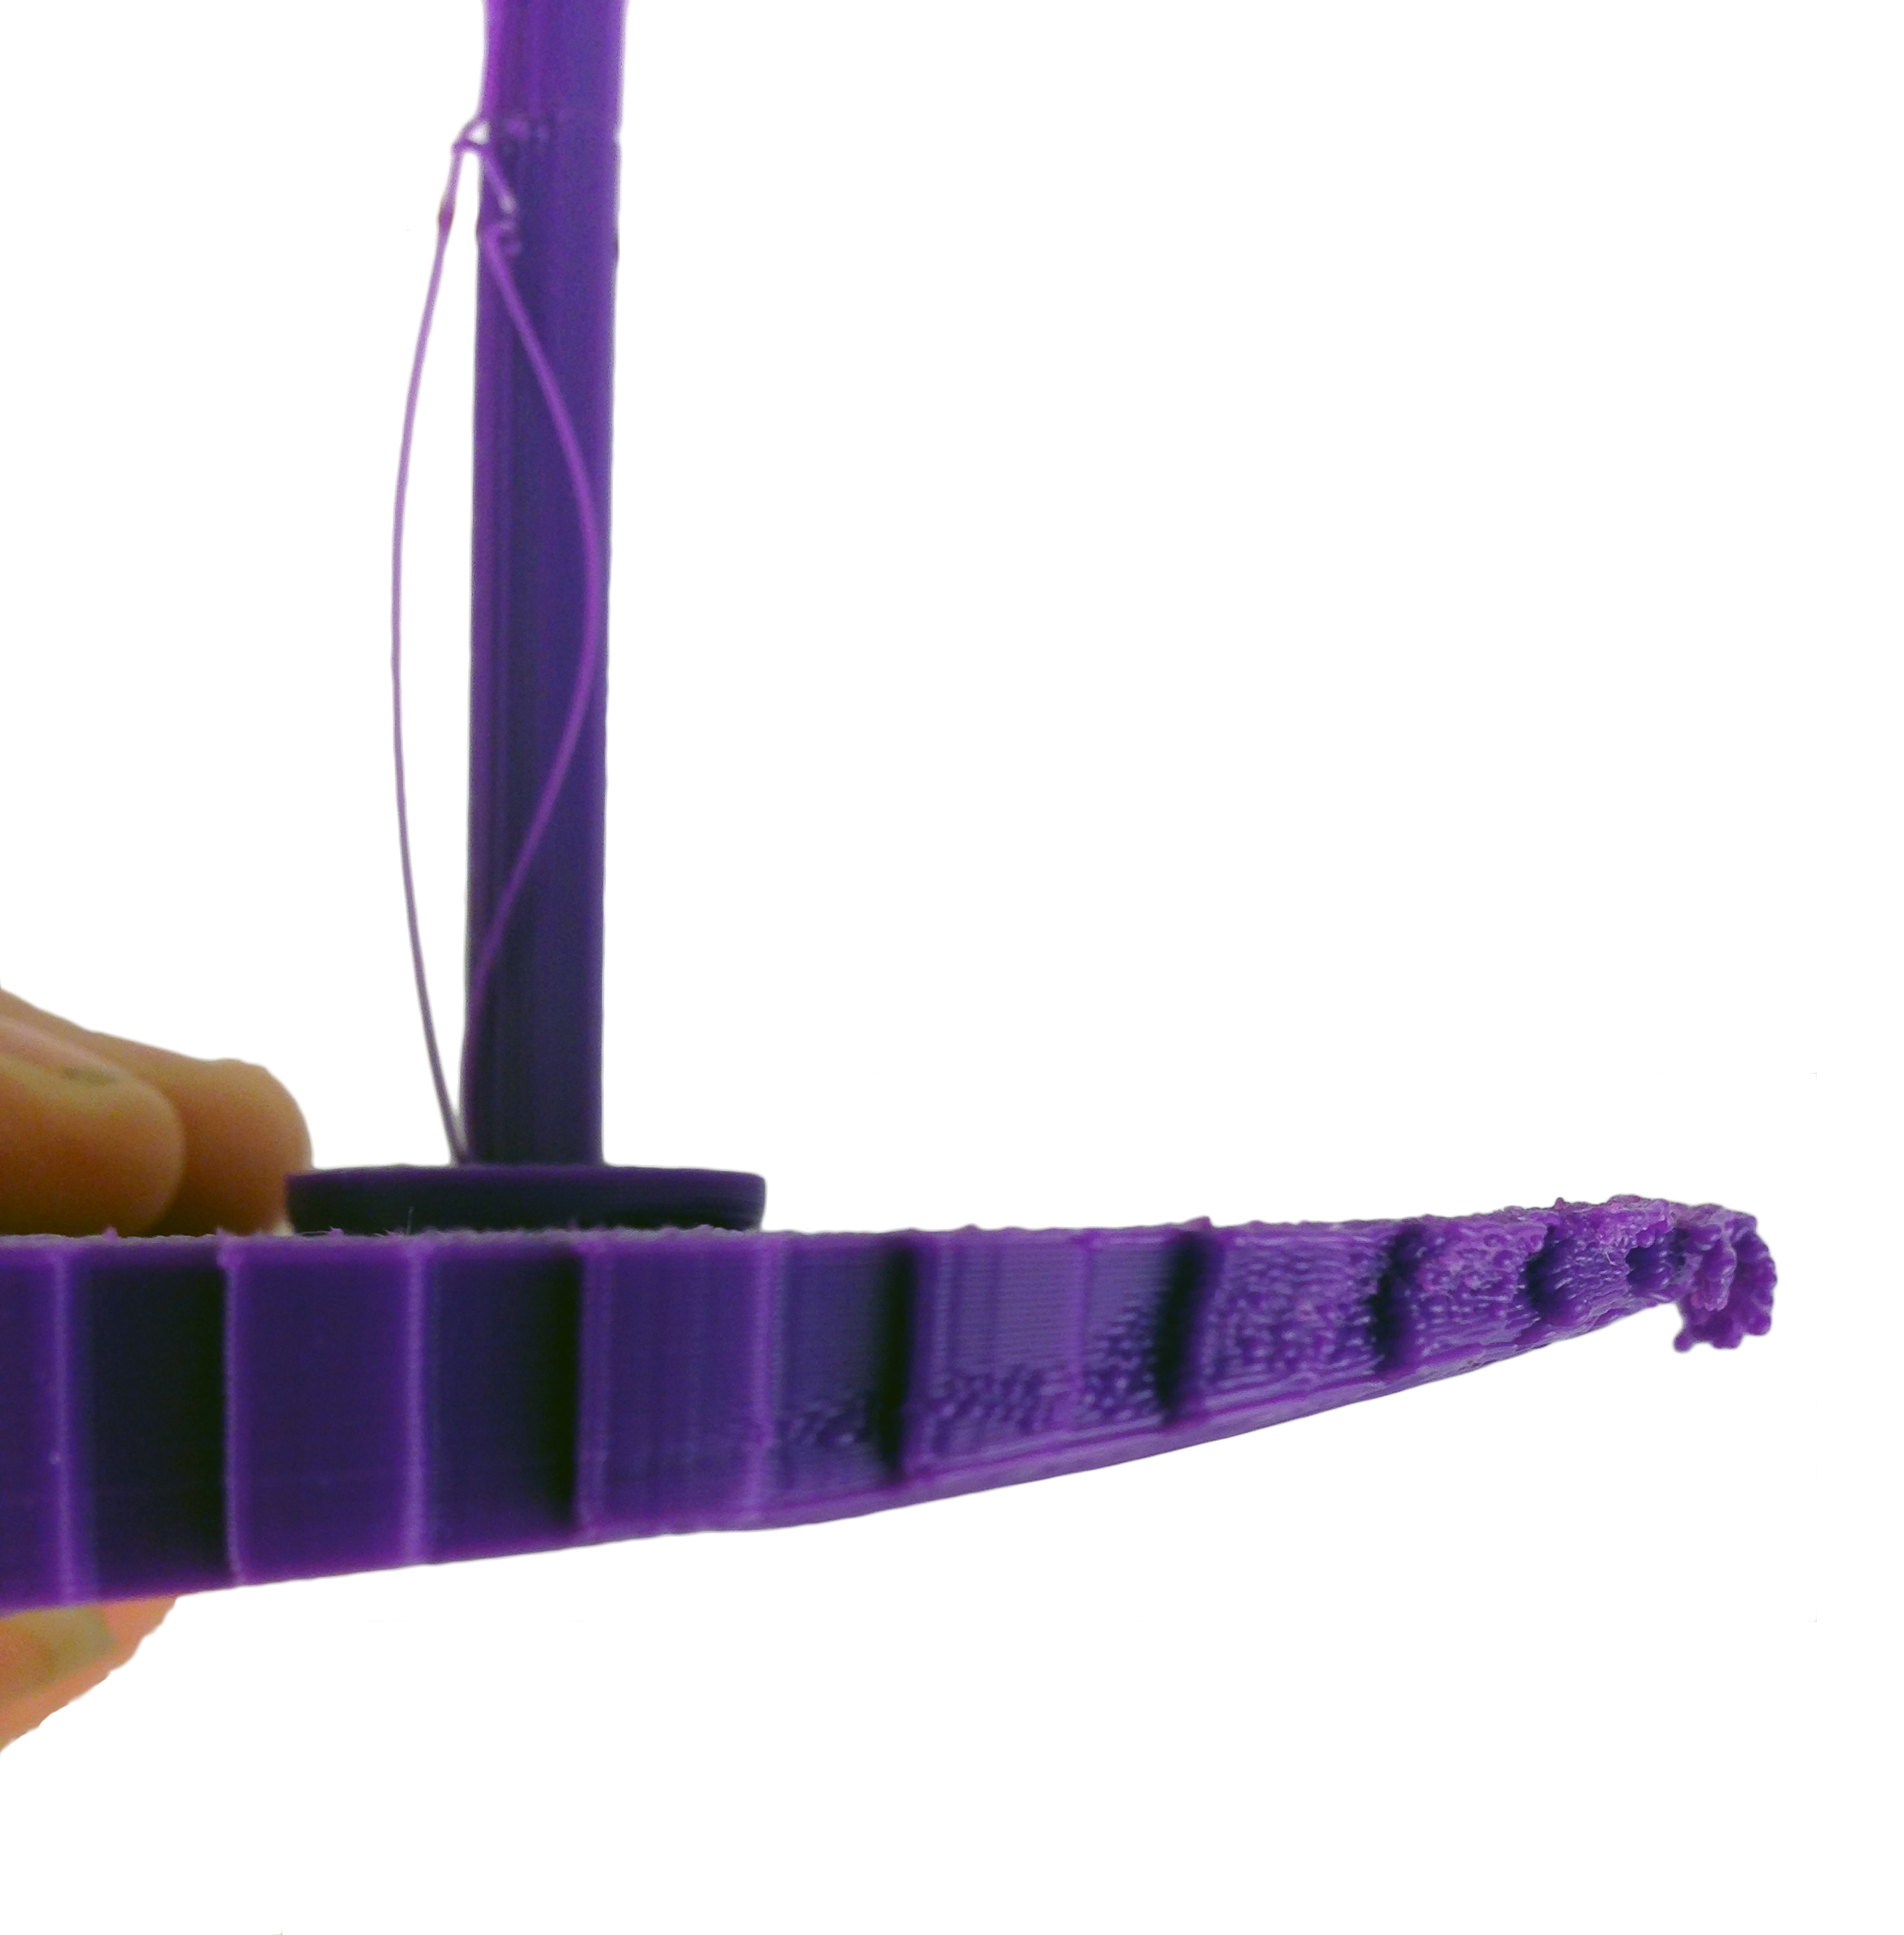
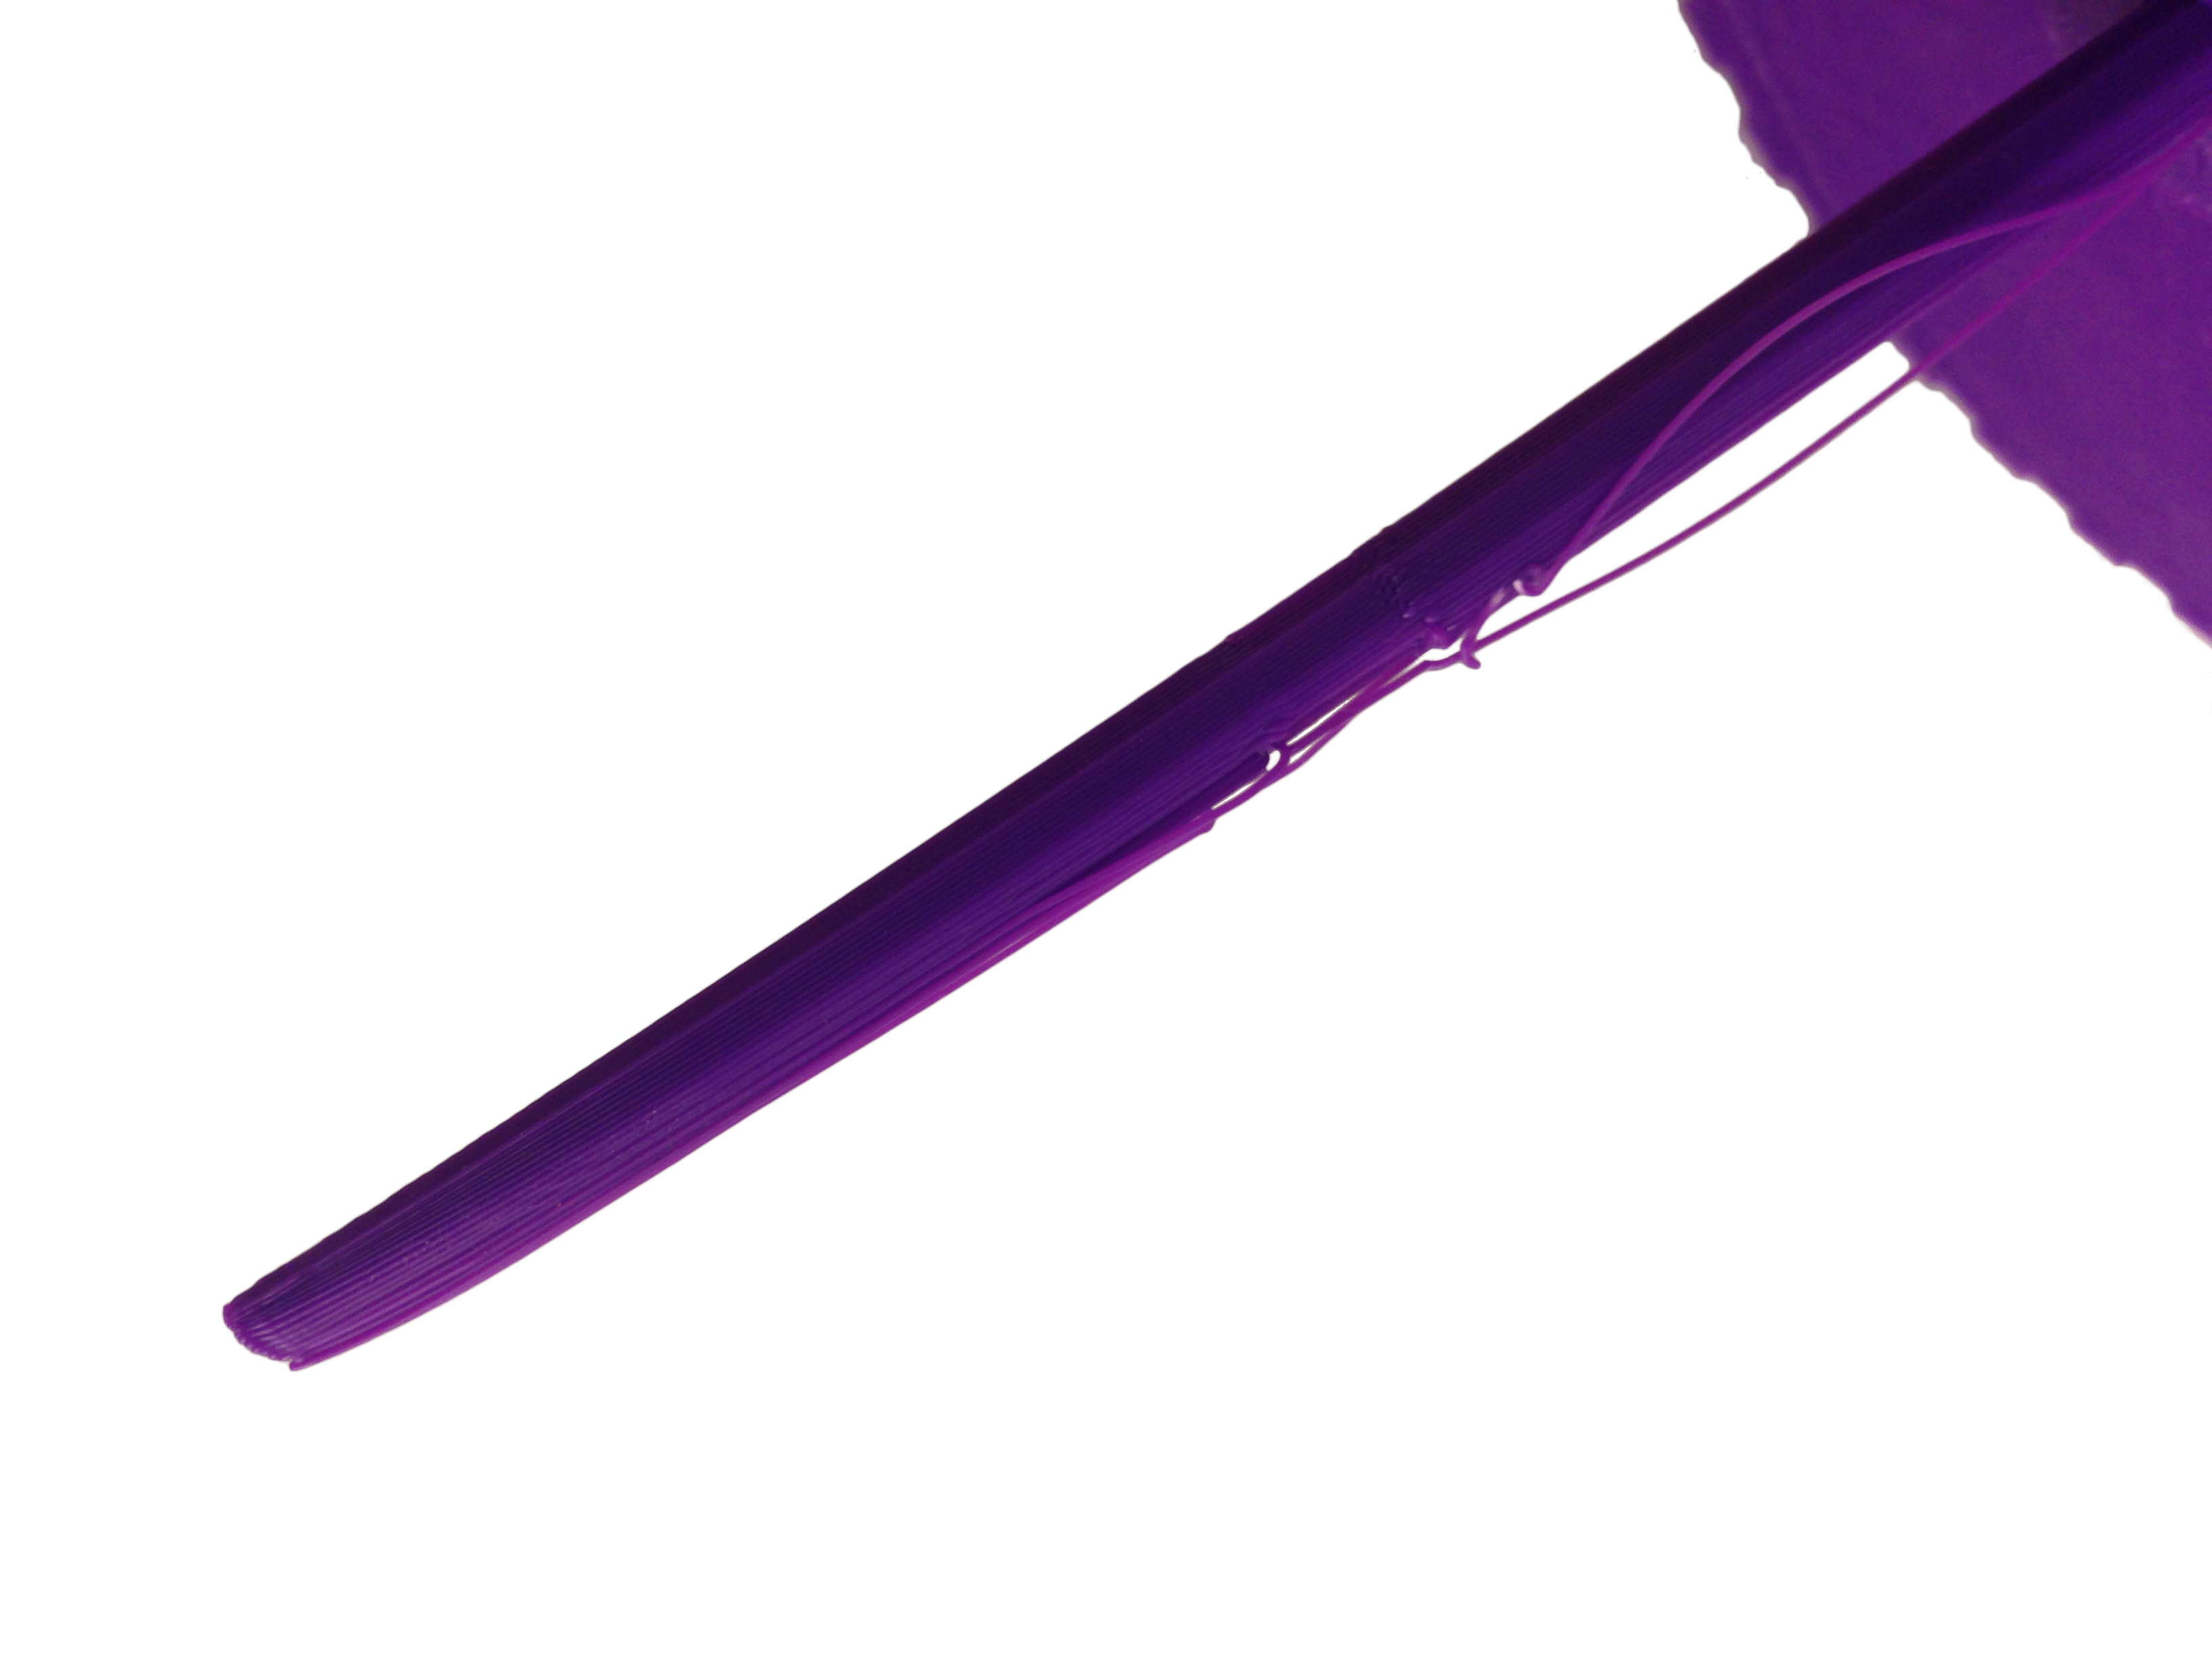
The design appeared to be sound, but the printing was iffy. What I ended up with, well, the website Hack-a-Day has a weekly feature called Fail of the Week. It chronicles great ideas that are brought to near-completion, but that just don’t work. There is then the hope that someone in the comments (or otherwise) can either learn from it or pick up the idea and improve it. To build a better mousetrap, as it were.
My Replicator has some thermal problems with large or long prints. Different regions of the layers cool at different rates, causing some warping. With central prints, everything is good, but prints with far-reaching footprints end up curling and warping. The end caps looked and fit great. The axle was warped and the wheel was seriously warped. I aborted.
At some point I might try is Zheng’s ABSynthe printing method. Up to this point, I have been a MakerBot purist and stuck with the stock parts and methods. I happened to have a few mousetraps on hand thanks to an impulse buy after the warped printing. I thought I might refine the design with the smaller traps. The parts are smaller and easier to print versus working with the rat trap’s larger, slower to print, and more prone to error parts. Another factor in this decision was that I was dubious of the rat trap’s spring. I thought it might have too much torque. It’s a pretty nasty spring. The smaller mousetraps also have a lot of power, but I felt they might be more workable than the rat trap.
This, then, leads to the Rat Racer’s younger brother, the Mouse Car.

The Rat Racer parts in their current form can be downloaded from Thingiverse.
To be continued…
2 thoughts on “On designing and building the Rat Racer”